What is Split Toning and How to Use it in Lightroom?
Do you have some images which don’t quite have the visual impact you desire? The composition is solid and the landscape gorgeous. Maybe the weather or time of day was not ideal.
Even after white balance corrections and editing for tones and contrast they don’t have the atmosphere you desire. Some photos need a little extra attention to get them to shine and evoke the emotions. That might sound obvious. But, knowing exactly what that extra attention might be is perhaps not so apparent. How do you edit an image to achieve the dramatic look you want? To really communicate the feel and impression you had when you captured the scene?
One great technique to use is split toning.
Please note: With the latest update of Lightroom Classic (October 2020 release), the highly anticipated Color Grading feature was introduced. This is a new type of color grading and replaces the old method of split toning. If you are using Lightroom Classic in version 10.0 or later, this article introduces the new color grading feature and its advantages.


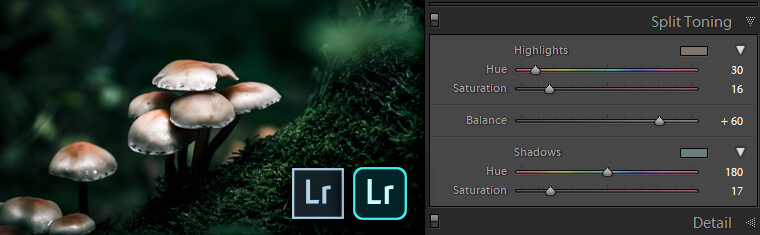
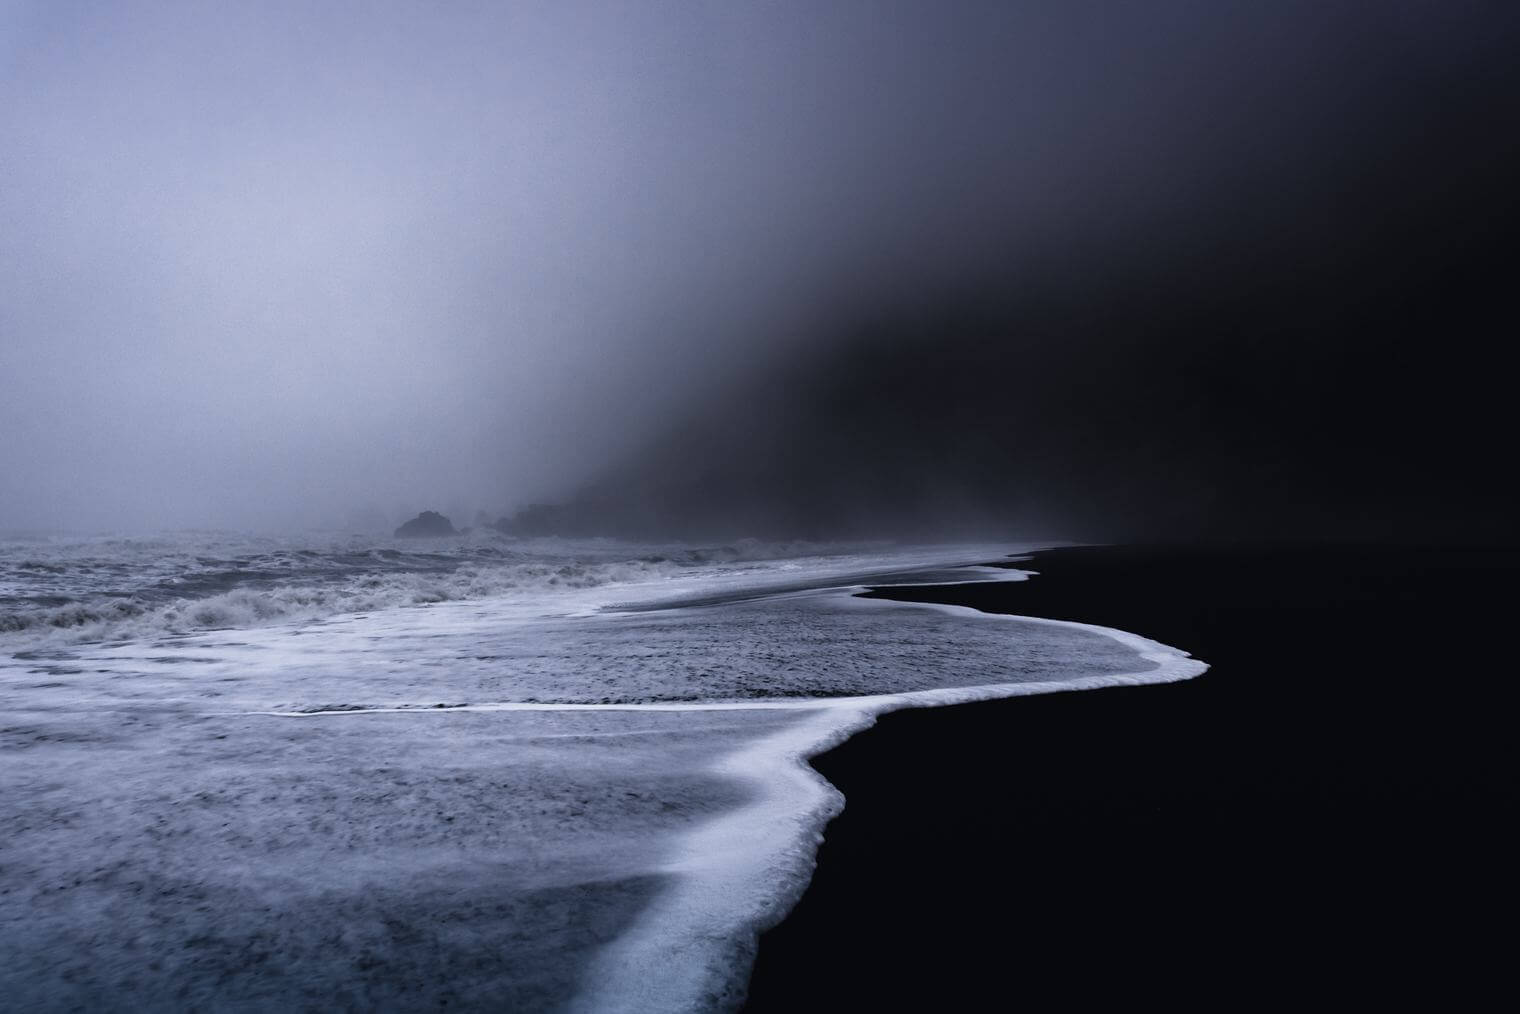
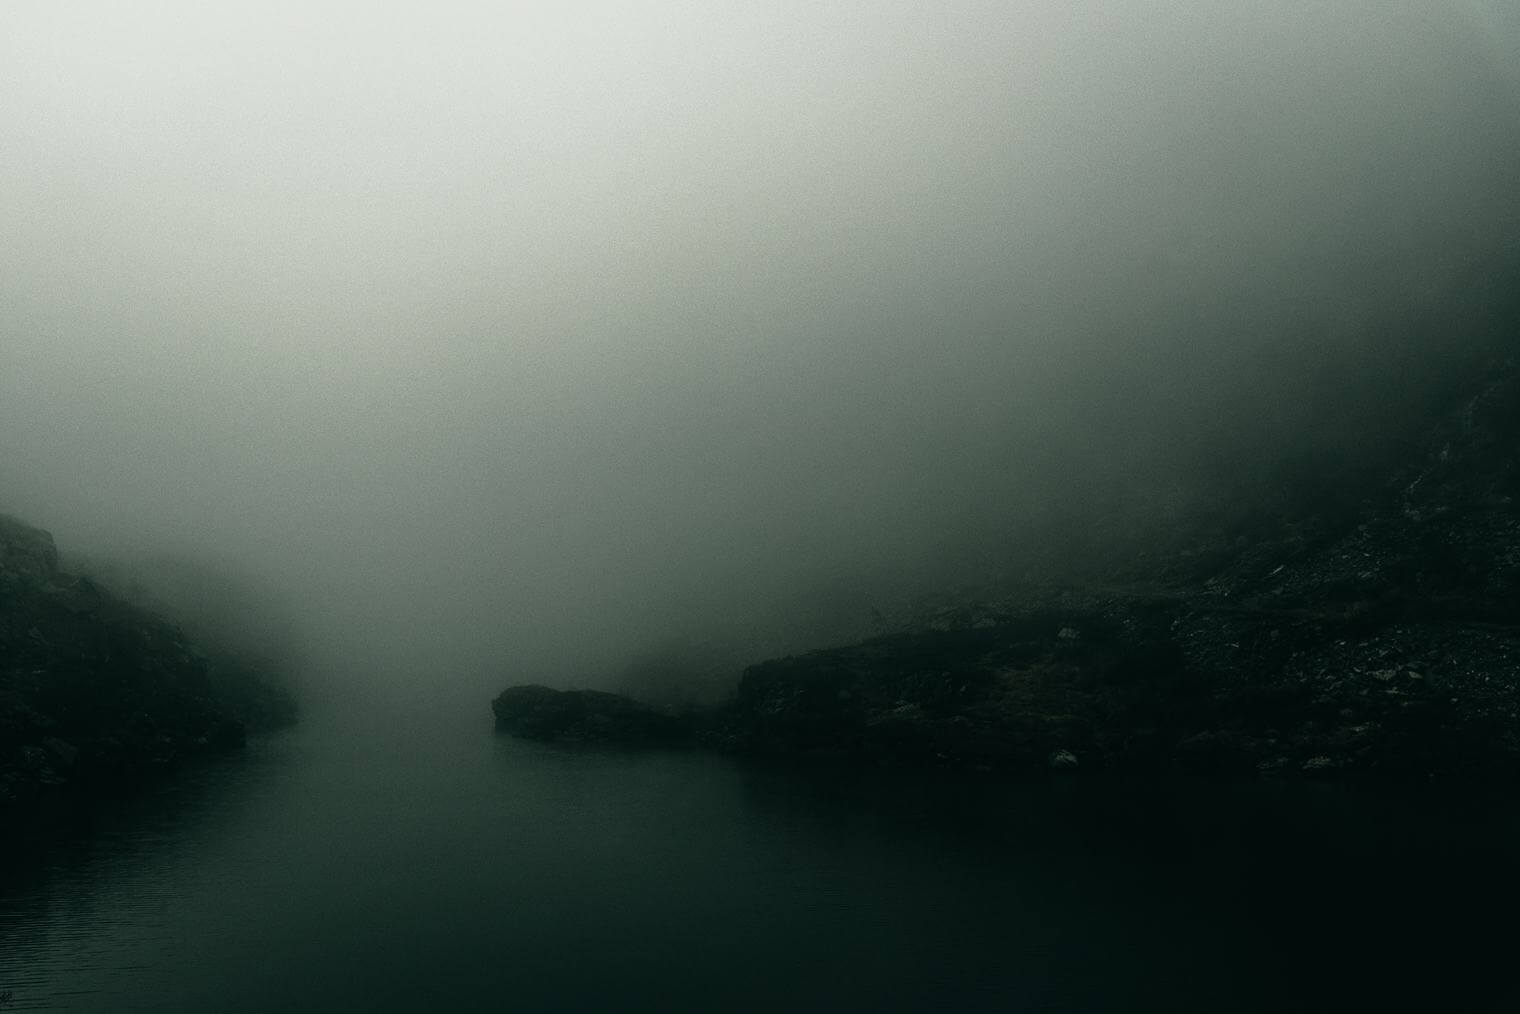
→ Left: No Split Toning / Right: Split Toning applied
What is Split Toning?
To split tone a photograph you introduce different colours into the highlight and the shadow areas of the image. Complete whites and complete blacks will remain unaffected.
Split toning adds a level of visual sophistication to a photograph. Think moody and cinematic in quality. The description is apt as the colour grading of films regularly employs split toning techniques to add style and atmosphere.
Split toning is certainly not a new concept. The technique has been around since film days. It was widely used in black and white photography to add depth and a subtle dynamic quality to an image. In the darkroom this was achieved chemically during the printing process. Most commonly a warm yellow-orange hue is selected for the highlights and a cooler blue for the shadows. It can also be used to create sepia effects and mimic other film processes.
You can use it to correct white balance in a more selective manner than the standard colour temperature adjustments. It can add emphasis to certain features and enhances natural light wonderfully.
This may sound more complicated than it is. Adobe Lightroom and Lightroom Classic makes split toning incredibly simple and intuitive to apply to your photos. Rich and dramatic skies, or crisp contrasts between water and land are only a few steps away.
How to apply Split Toning in Lightroom
You will see there is a separate panel called split toning. Many photographers will pass this by and it is quite underused. However, it is employed in a huge number of presets and filters. It is a key ingredient in how they achieve their look.
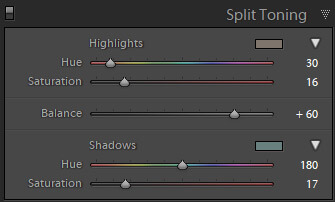
The split toning panel consists of three sections: Highlights, Balance and Shadows.
You have two sliders each for the highlights and the shadows. Plus, a single slider to control the balance of toning between the highlights and shadows.
It is possible to tone just the highlights, or just the shadows. There is no need to do both. In some cases a little warmth in the highlights is all that is required to bring some life and depth to a shot.
There are two ways to select the colour you want to introduce.
First, you can simply move the hue slider along until you find the hue that works. Holding down alt (Windows) or option (Mac) when doing this will show you a preview at 100% saturation. This will be far too strong, but you can clearly see the hue choice you are making.
Once you are happy with the hue, use the saturation slider to increase the strength to the level that works. The best value is going to depend on the specific image you are editing.
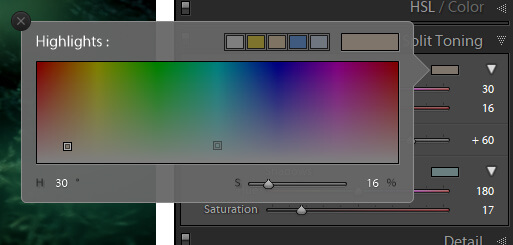
The second method is to click on the grey box to the right of the words Highlight or Shadow. This shows you a larger colour selection panel where you can pick both the hue and saturation levels simultaneously. There are also a few handy preset colours to pick from.
A little bit of playing around with the sliders and some sliding back and forth is often needed to hit upon just the right levels.
Finally use the balance slider to set where you want the emphasis.
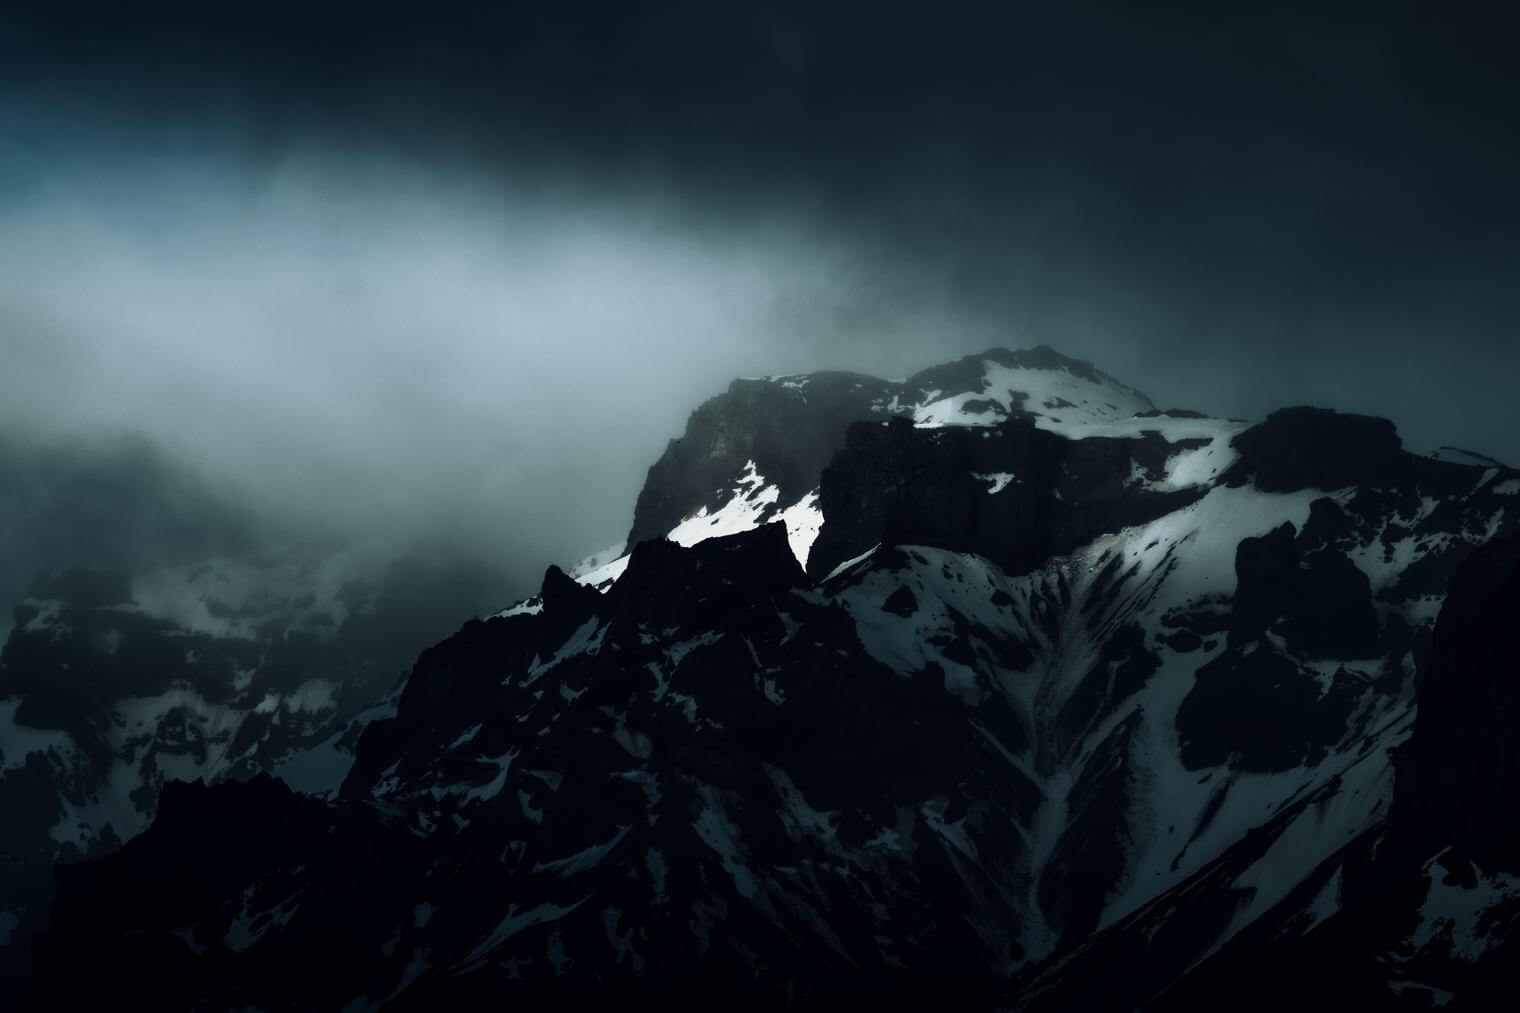
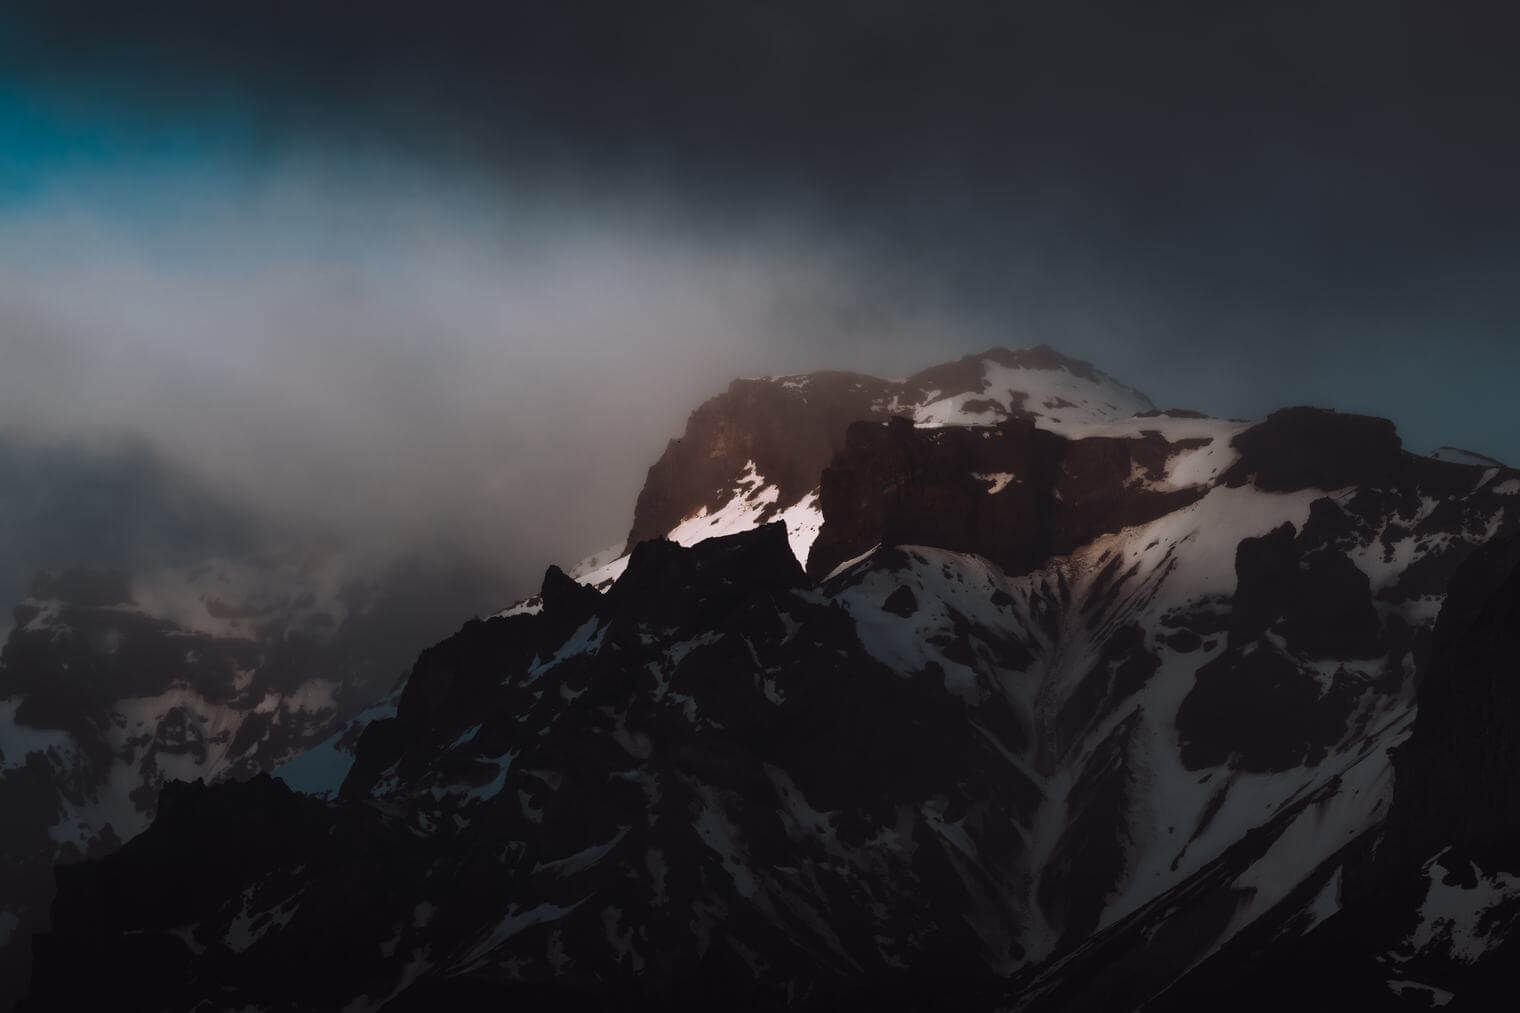
One image. Numerous editing possibilities:
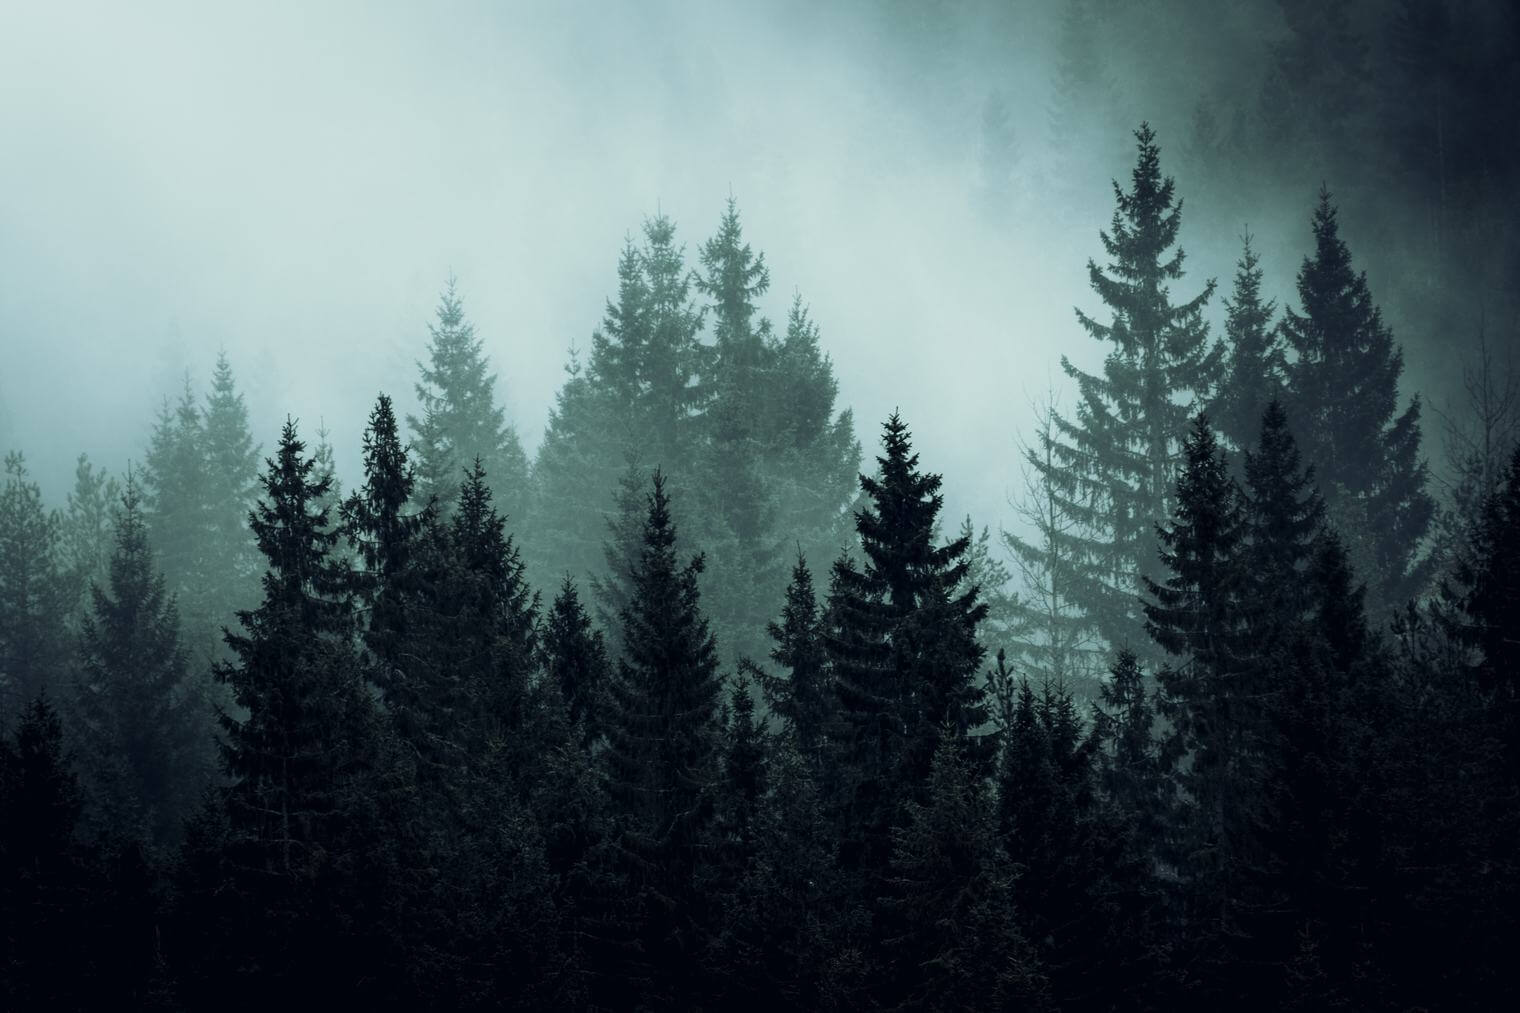
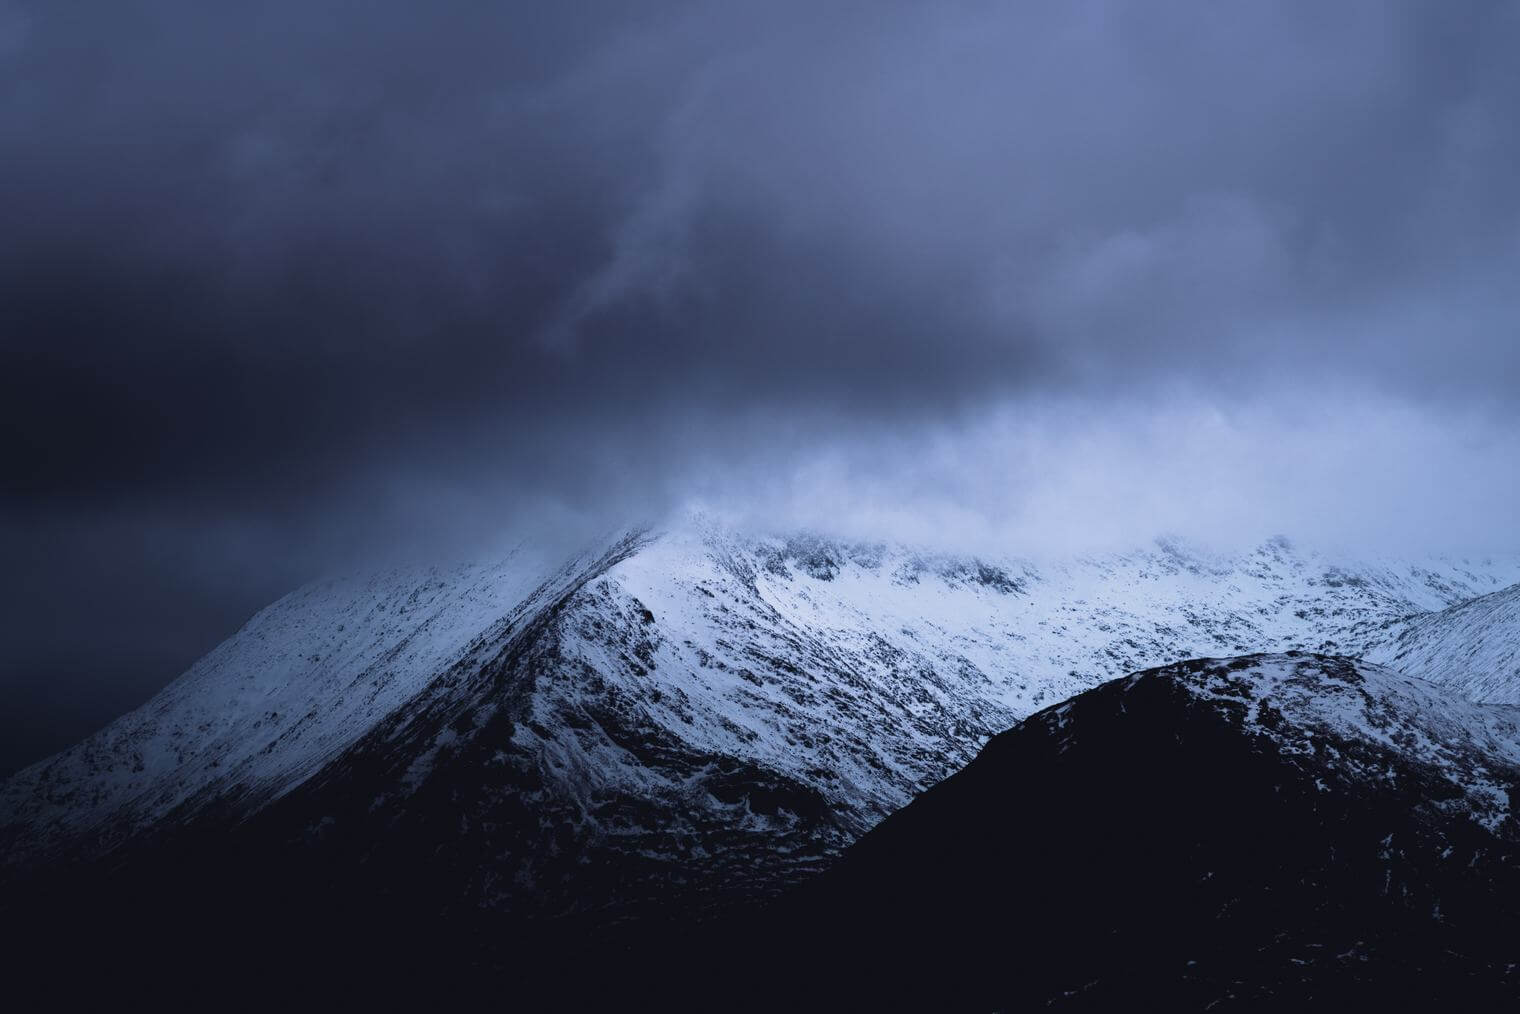
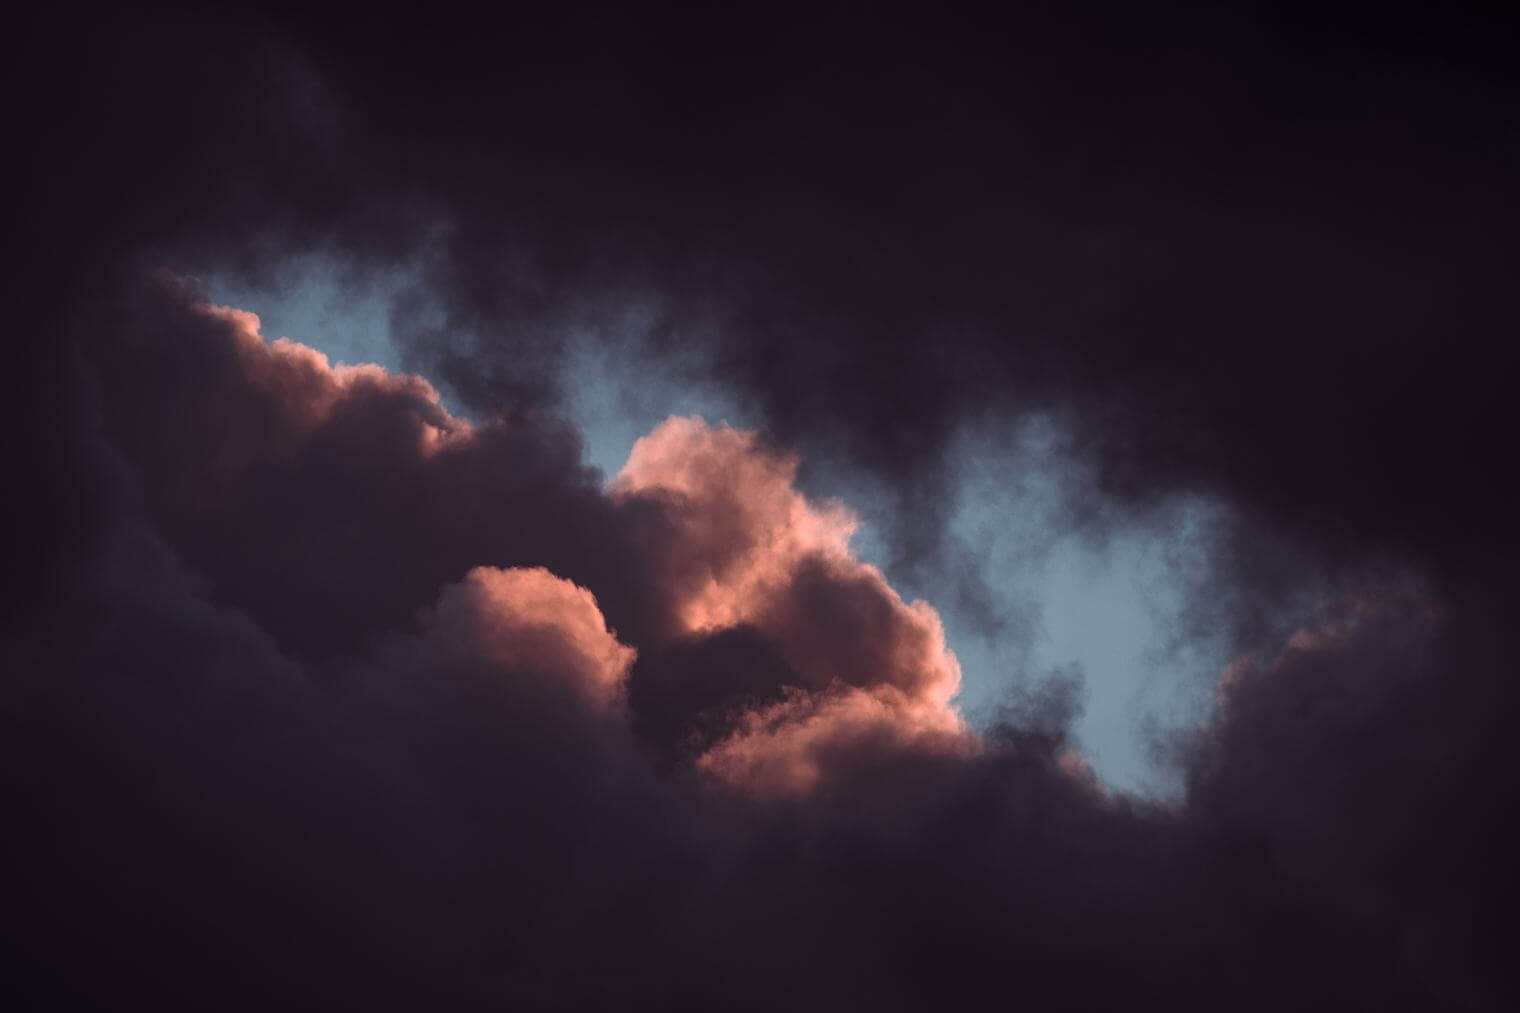
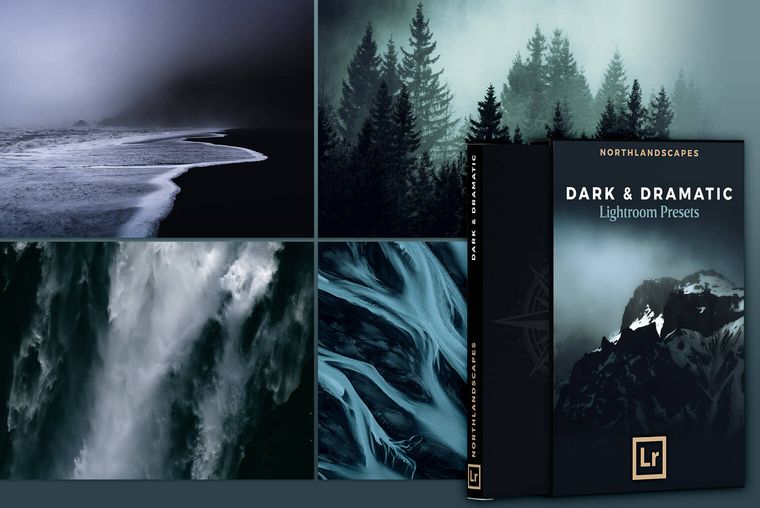
→ Images edited with my Dark & Dramatic Lightroom Presets
Getting the most out of Split Toning
The power of split toning is its ability to achieve a wide variety of looks. You can really get creative with it. Arm yourself with some basic understanding of colour theory to begin with. It will help immensely. Masterful selection of the hues achieves strong imagery.
The reason that a warm orangey highlight tone and a cool blue in the shadows works is because these are complementary colours.
They are opposites on the colour wheel. You can also achieve dynamic monochrome palettes or add very subtle shifts to bring out key details.
Working with Lightroom presets is also an excellent way to explore split toning. And, you get quality results instantly. My Lightroom presets are created with landscapes in mind so you know the overall look is suited to your to enhancing your subject. The more you use split toning in your imagery the better you will get at seeing where you can take an image. It is possible to lift a relatively dull landscape into something quite stunning.
Take a look through your archive or recent shoots and select some scenes to commence experimenting with split toning. You might be pleasantly surprised and discover some new striking shots to showcase.
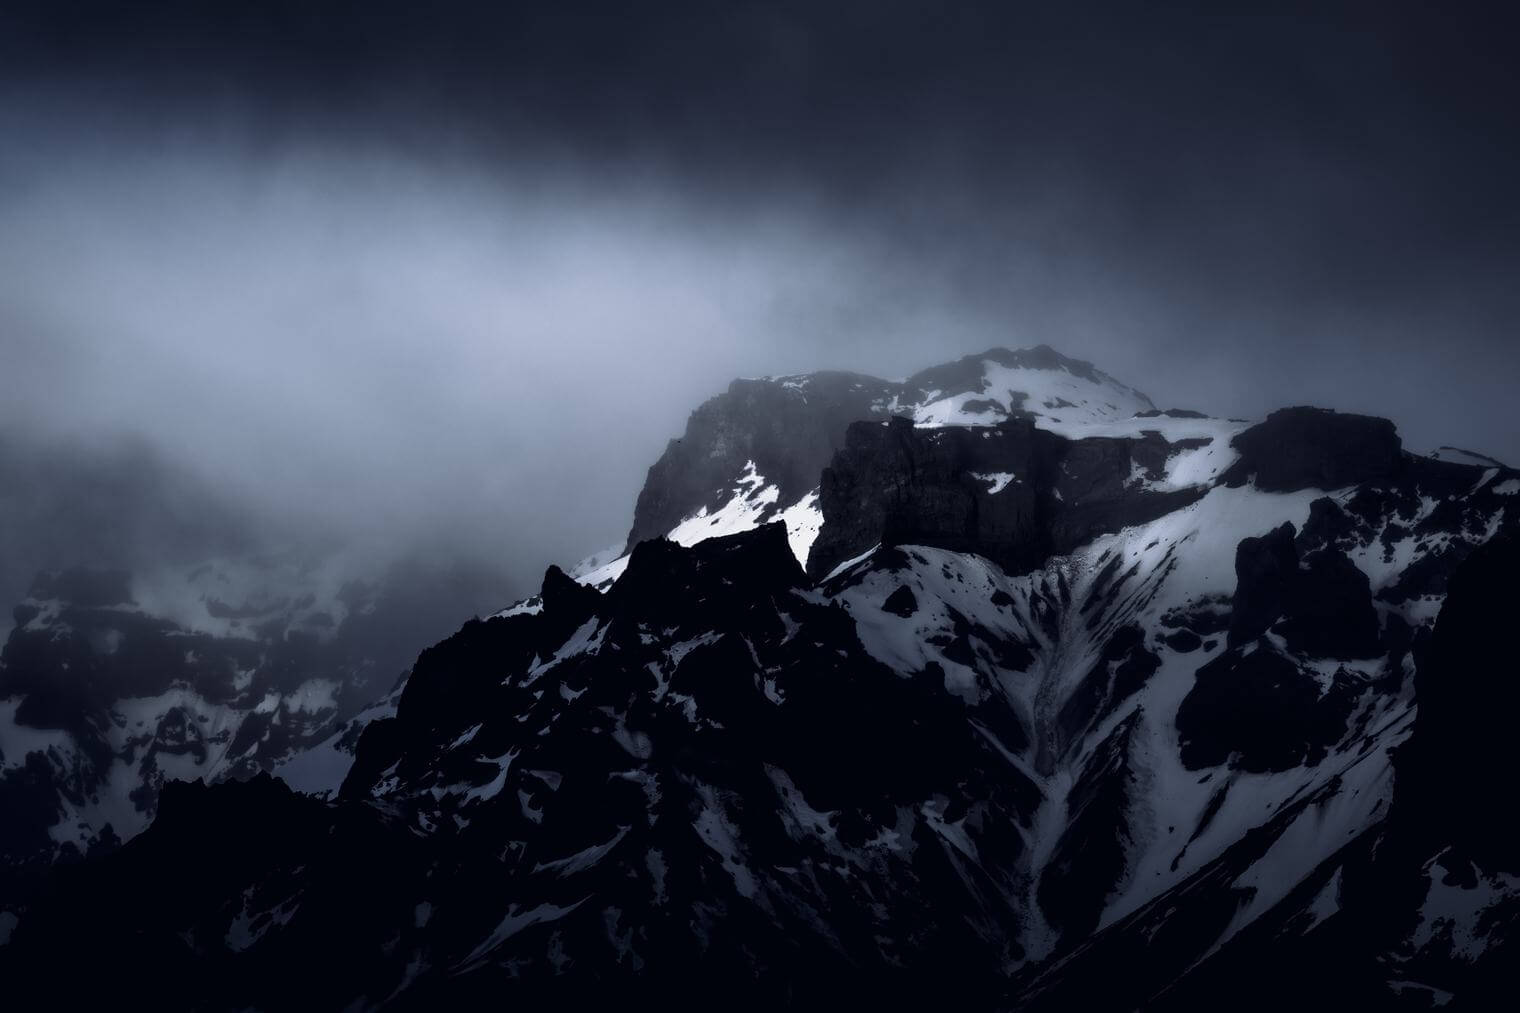
→ Images edited with my Dark & Dramatic Lightroom Presets
More Articles on Photography & Lightroom
Most popular articles: How to Install Lightroom Presets | What is Split Toning and How to Use it in Lightroom? | Speed Up Adobe Lightroom and Lightroom Classic
Subscribe to my Newsletter ... and don't miss any new articles!
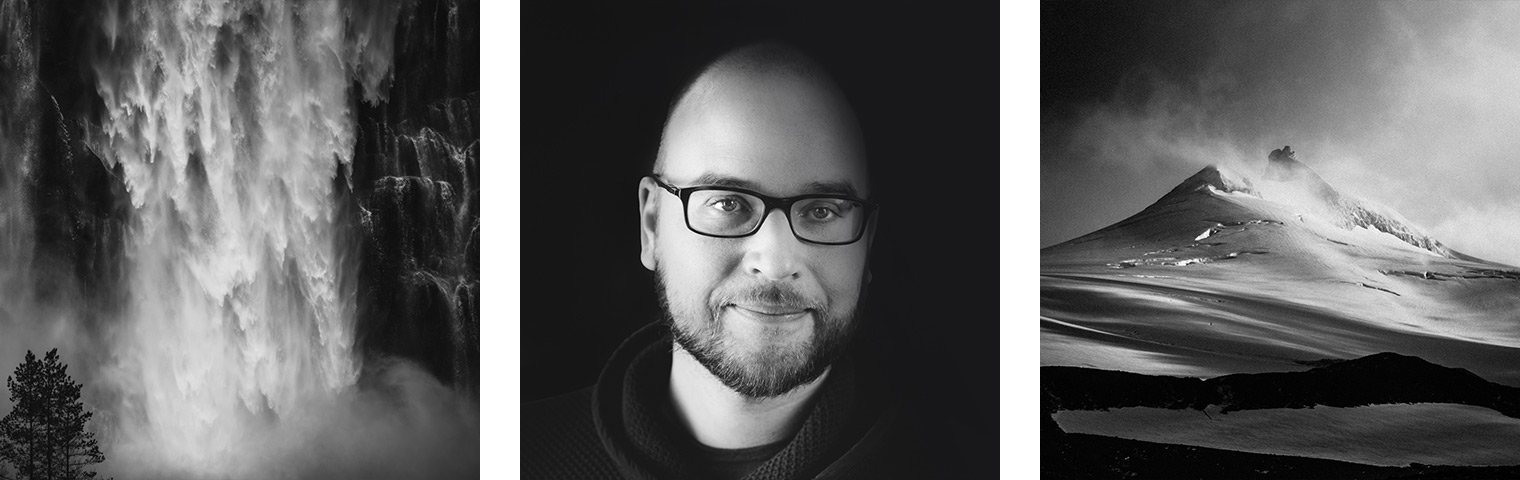
About the Author – Jan Erik Waider
I'm a visual artist and fine art photographer based in Hamburg. My work focuses on atmospheric and abstract landscape photography, capturing the essence of the remote polar regions. – Learn more about me and discover my fine art photo series, prints and books or download my Lightroom Presets or Capture One Styles.
Master Collection: 8 Lightroom Preset Packs for Landscape and Travel Photography

Discover the Master Collection by Northlandscapes with 8 professional preset packs for moody landscape, travel and aerial photography. Get a total of 362 Lightroom presets with a shop value of $282 for only $75! And the best part: All future product releases are also included!
Included in the Master Collection:
- Dark & Dramatic Lightroom Presets $35
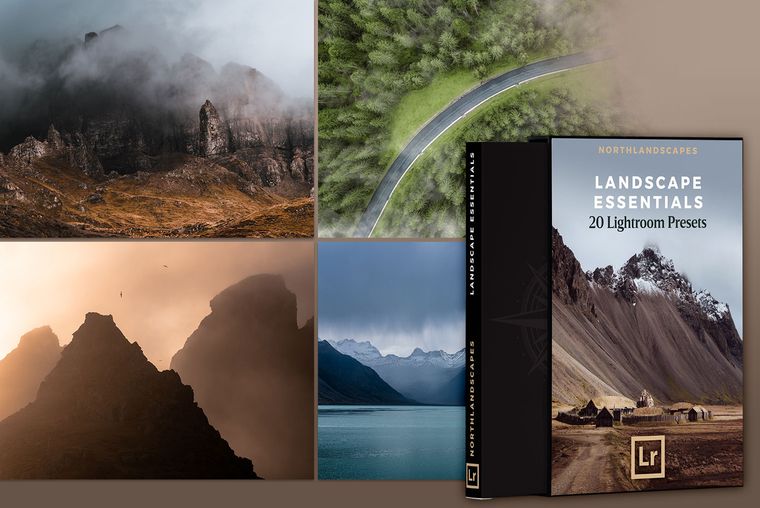
- Landscape Essentials: 20 Lightroom Presets ($39)
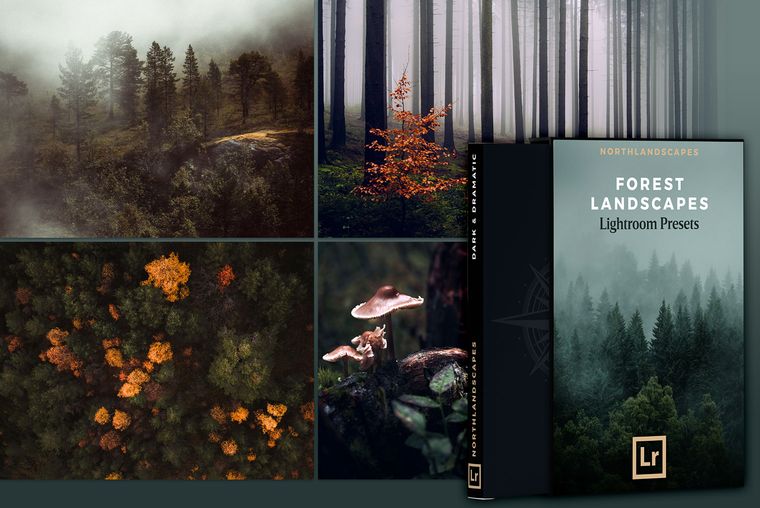
- Forest Landscapes Lightroom Presets $35
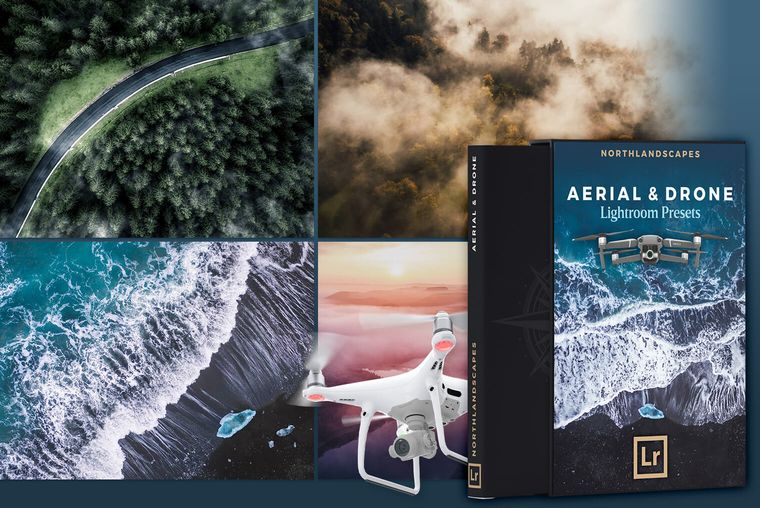
- Aerial & Drone Lightroom Presets $35
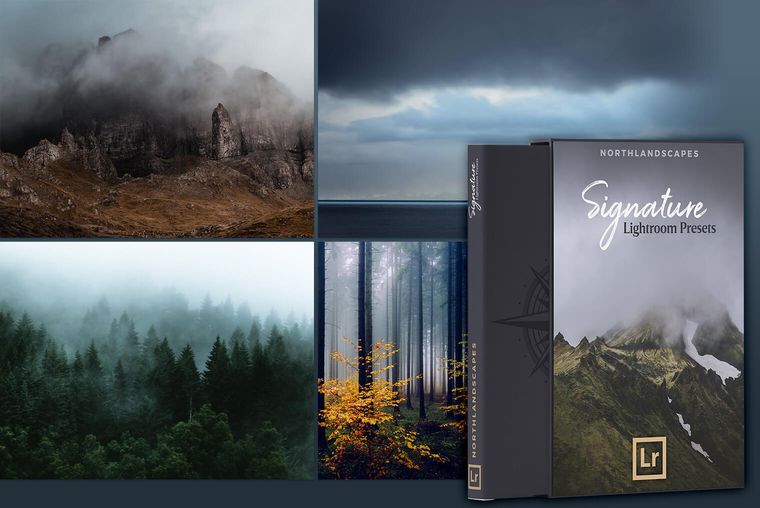
- Signature Lightroom Presets $35
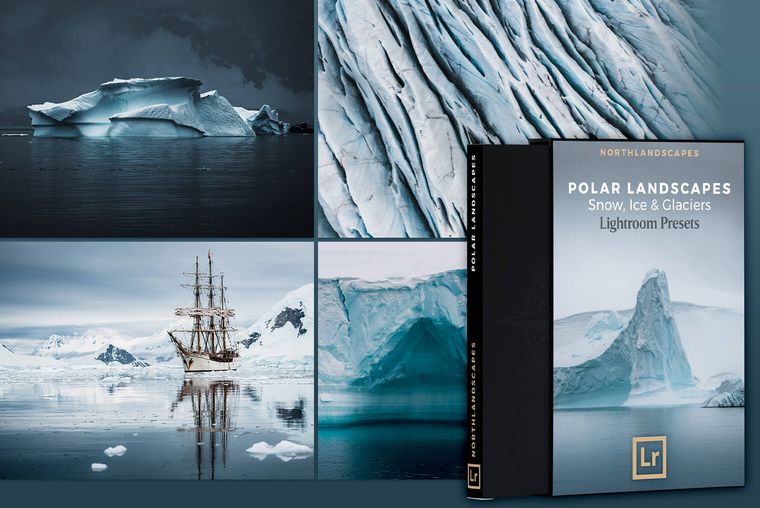
- Polar Landscapes Lightroom Presets $35
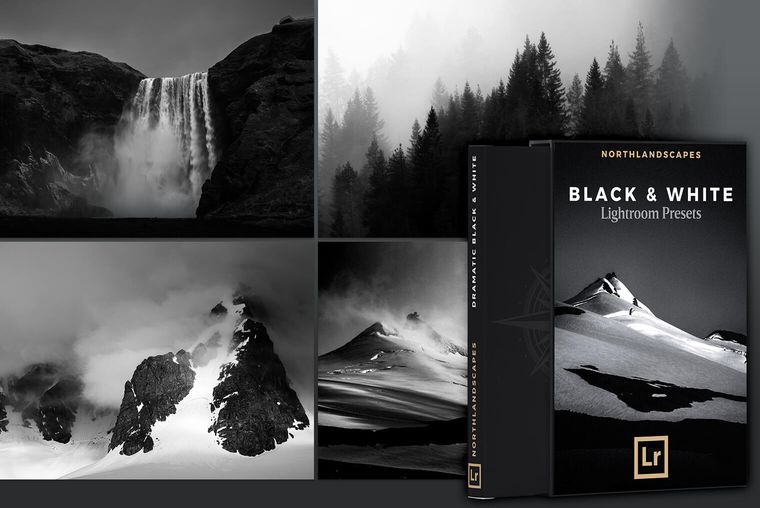
- Black & White Lightroom Presets $29
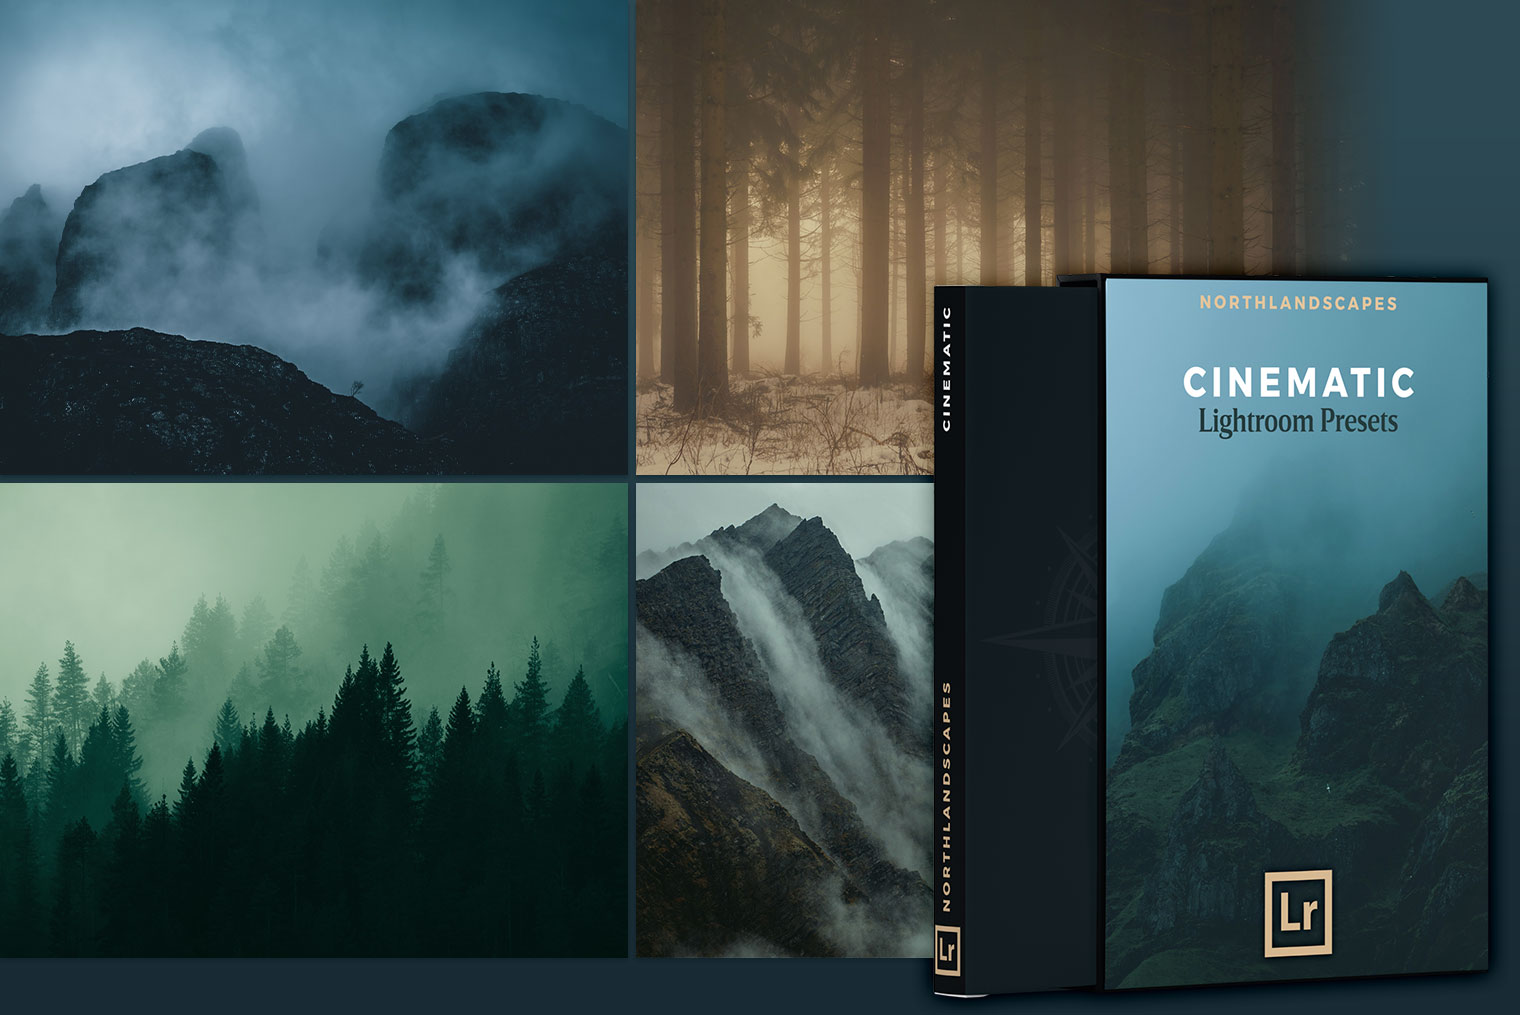
- Cinematic Lightroom Presets $15
- ... plus all future product releases!