The Basics of How to Shoot and Edit Moody Landscape Photos
In my landscape photography, I often like to focus on moody locations. Moody shots create mystery and tell a story.
Over the years, I've developed a unique style that has helped me create eye-catching photographs of landscapes. It's fairly easy to take photos like this of your own with a little bit of practice. Here's how you can achieve this, both on location and in Lightroom.
How to Shoot Moody Landscape Photos
Embrace Gloomy Weather
Many of my landscape photos look extra moody thanks to the weather conditions I dealt with during my photo shoots. Dark clouds and fog can instantly make a landscape look gloomier. Of course, this doesn't mean you're not allowed to work with light. If there's an opening in the clouds and a ray of sunshine comes through, capture that. It can create a beautiful contrast in your pictures.
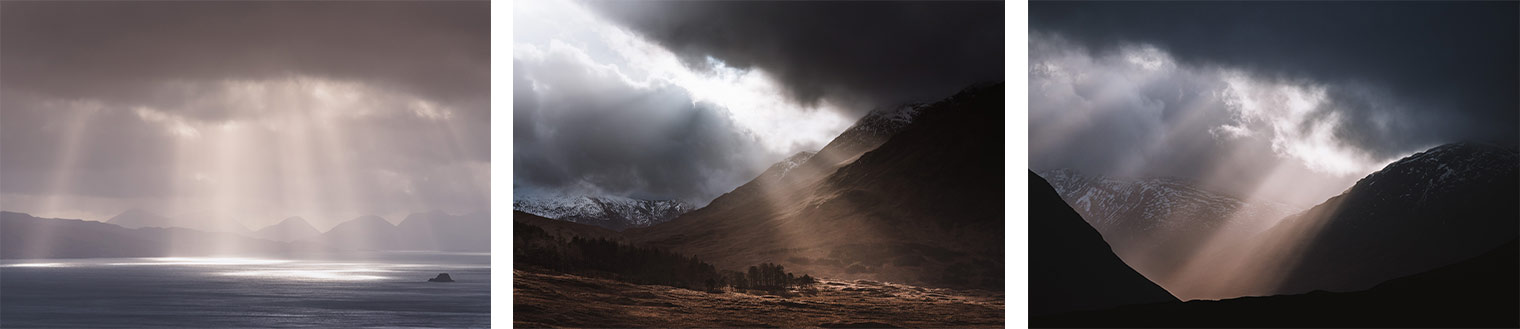
However, if you're going for that distinctly haunting feel, try to take photos when the weather is technically "bad."
Pick Subjects That Look Eerie
When the weather isn't the greatest, everything looks a little more haunting than usual. If you pick the right location, you can intensify that moody feeling in your landscape photos. I like to make use of forests, mountains, icebergs, and beaches in my photography. The atmospheres in these locations look spectacular on gloomy days.
Remember to make the most of what you have. While I've had the privilege of photographing ice-bergs, you might have access to a park only. That can still work well. When possible, visit the aforementioned locations. You won't regret it!

Prioritise Minimalism
I know it can be tempting to capture as many details as possible in your landscape photos. In my experience, moody landscape photography thrives off minimalism. I'm sure there are exceptions, but I've noticed that what works best in my photography is embracing simplicity.
If your landscape has just a few elements in it, it's likelier to look lonelier than a busy composition. That lonely feeling can greatly intensify the moodiness in your shots. Some of my best landscape photos have been a result of this technique. Just remember to keep it simple.
The Basics of How to Edit Moody Landscape Photos
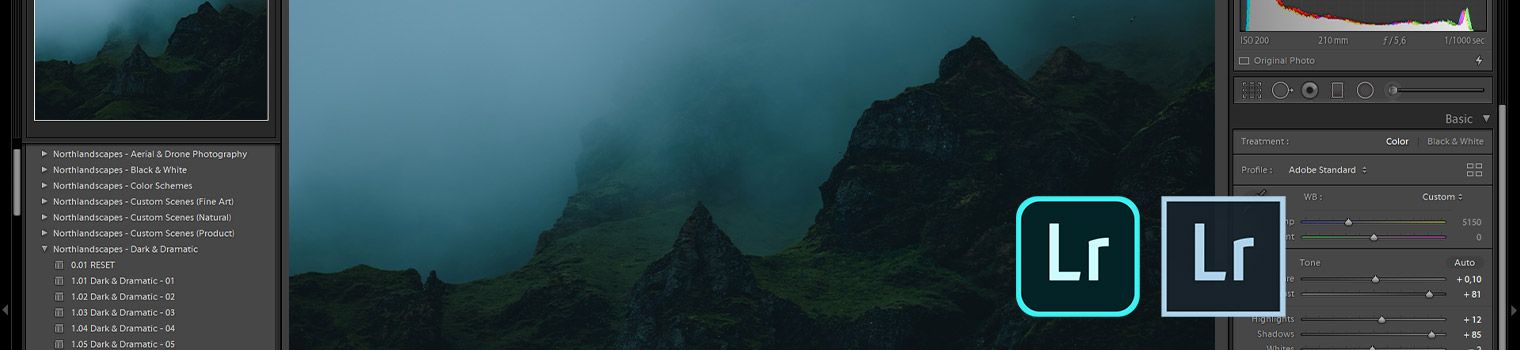
Editing is a very important step for me. I use Lightroom to enhance my landscape photos. Lightroom has a great variety of options that can help you intensify the moodiness in your images. Here are a few tools that I use to create a distinct moody atmosphere in my shots.
Decrease Saturation & Clarity
I find that colors can really get in the way of my landscape photos. Fortunately, Lightroom has a bunch of tools that let me desaturate my images in a natural way. Even a little bit of desaturation can make your landscape photos look darker.
Another handy tool to keep in mind is the Clarity slider. If you slightly move it to the left, you'll get a beautiful hazy look. This slider will basically blur the edges in your photos, so you need to be careful with it. This works very well in some of my photographs and intensifies my classic moody look.
Edit Specific colors in HSL
As I mentioned in the previous tip, some colors can really get in the way. I control the intensity of colors in the HSL panel. There, I carefully change the hue, saturation, and luminance of almost every color. Having complete control over this lets me create exactly the kind of look I want.
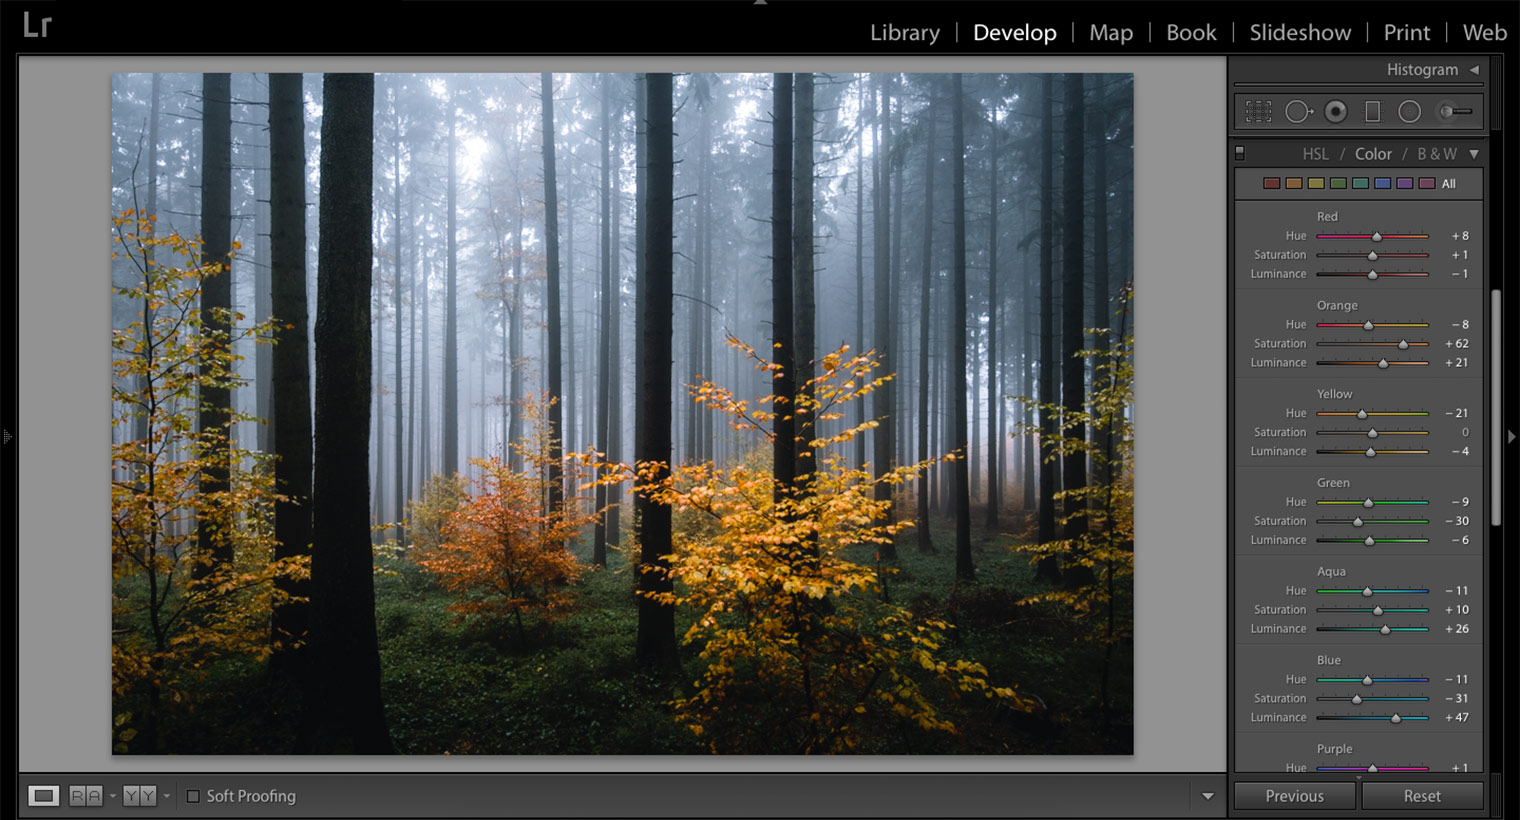
Some colors look a bit too dull, so I bring them out using the Saturation and Luminance sliders. In some cases, I slightly change the hue of some colors to give my landscape photos a more surreal atmosphere. The image above is a great example of this. As you can see, I intensified the color of the leaves to create a more striking contrast in my shots. Sometimes, even a small adjustment like this is all you need.
Increase Contrast Using Blacks and Shadows
Shadows are an important part of moody landscape photography. I like to create a lot of contrast in my shots. This emphasizes the curves and edges of each landscape and contributes to the overall moodiness in my work.
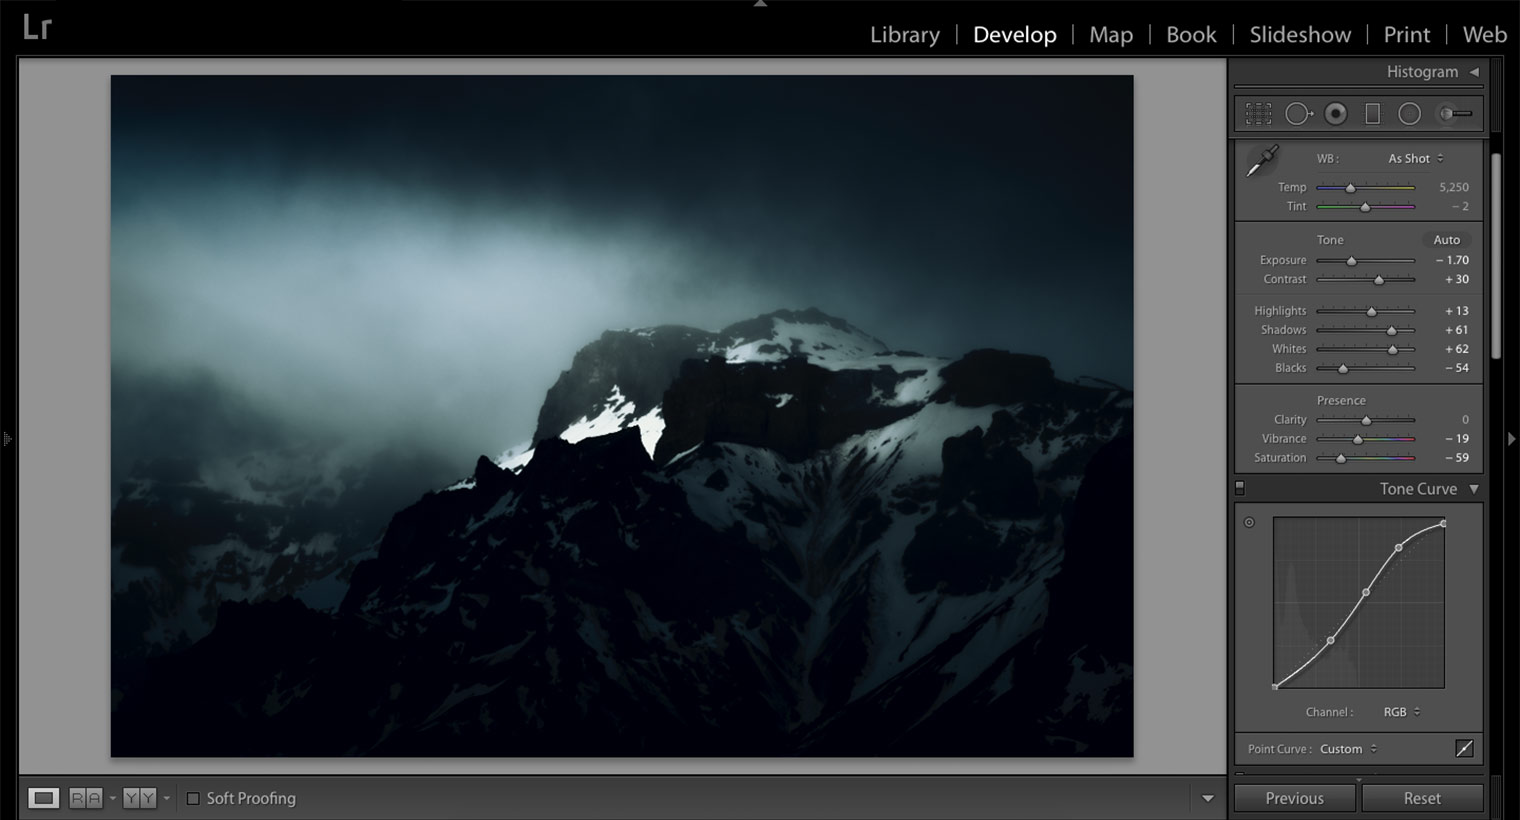
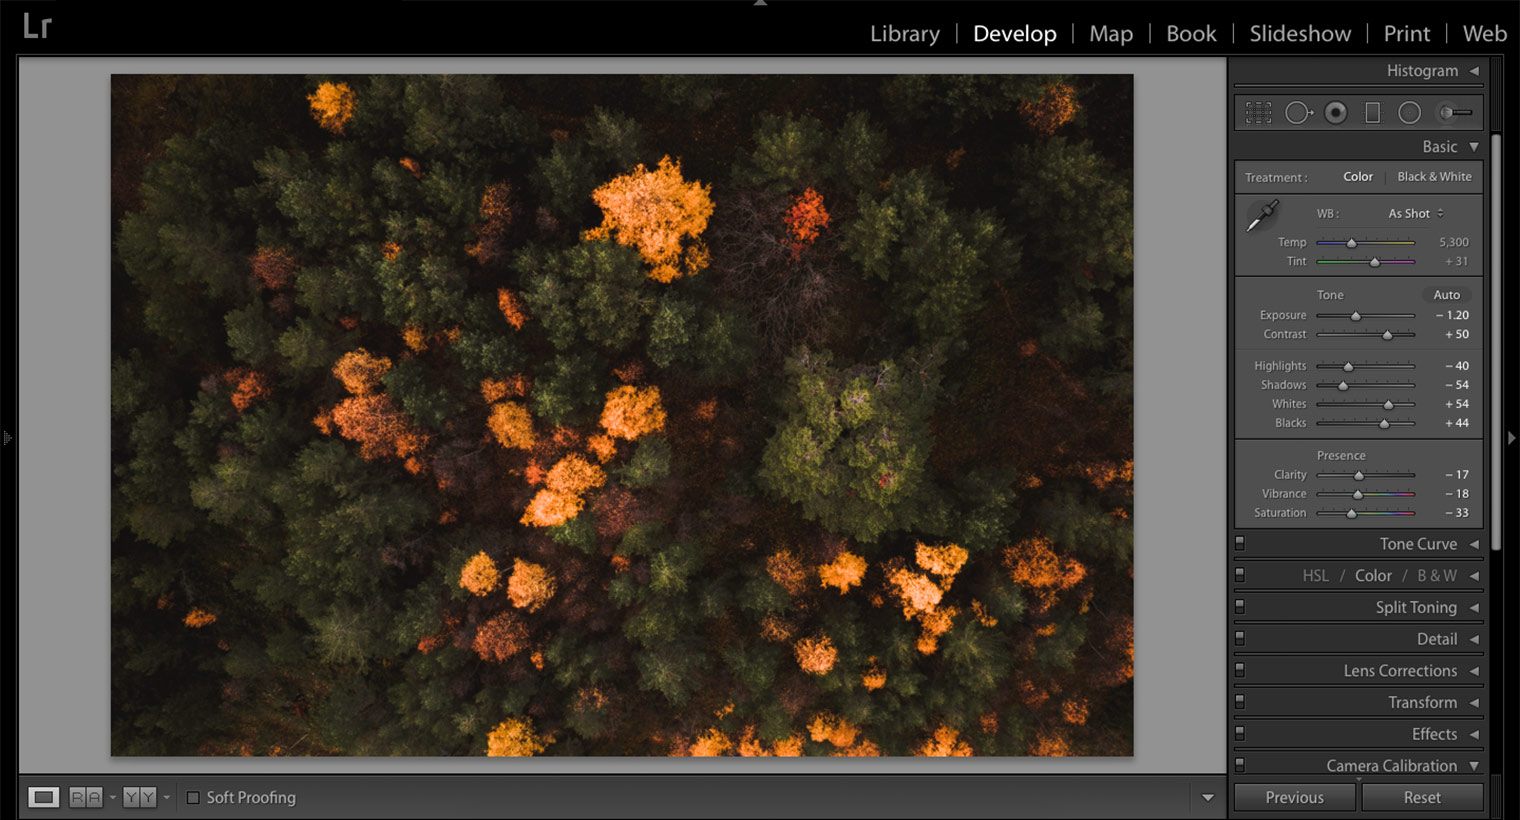
There are a number of tools that I use to increase contrast. Of course, the Contrast slider is the most basic one, but there's much more to Lightroom than one slider. The Shadows and Blacks sliders can both be used to create the illusion of a very high dynamic range. For example, in the photo above, I intensified the blacks but decreased the shadows to create a balanced look. I also like to use Tone Curve to add even more contrast. The curve gives me more control over specific areas of my photographs. I recommend using it if you feel like your shots need a stronger boost of contrast.
Mute Highlights
If you look through my work, you'll notice that I often mute highlights to avoid making my images look overexposed and unbalanced. This also helps add to that moody look. Muted highlights create a cloudy atmosphere and make it seem like you took photos on a foggy day, even if you didn’t.
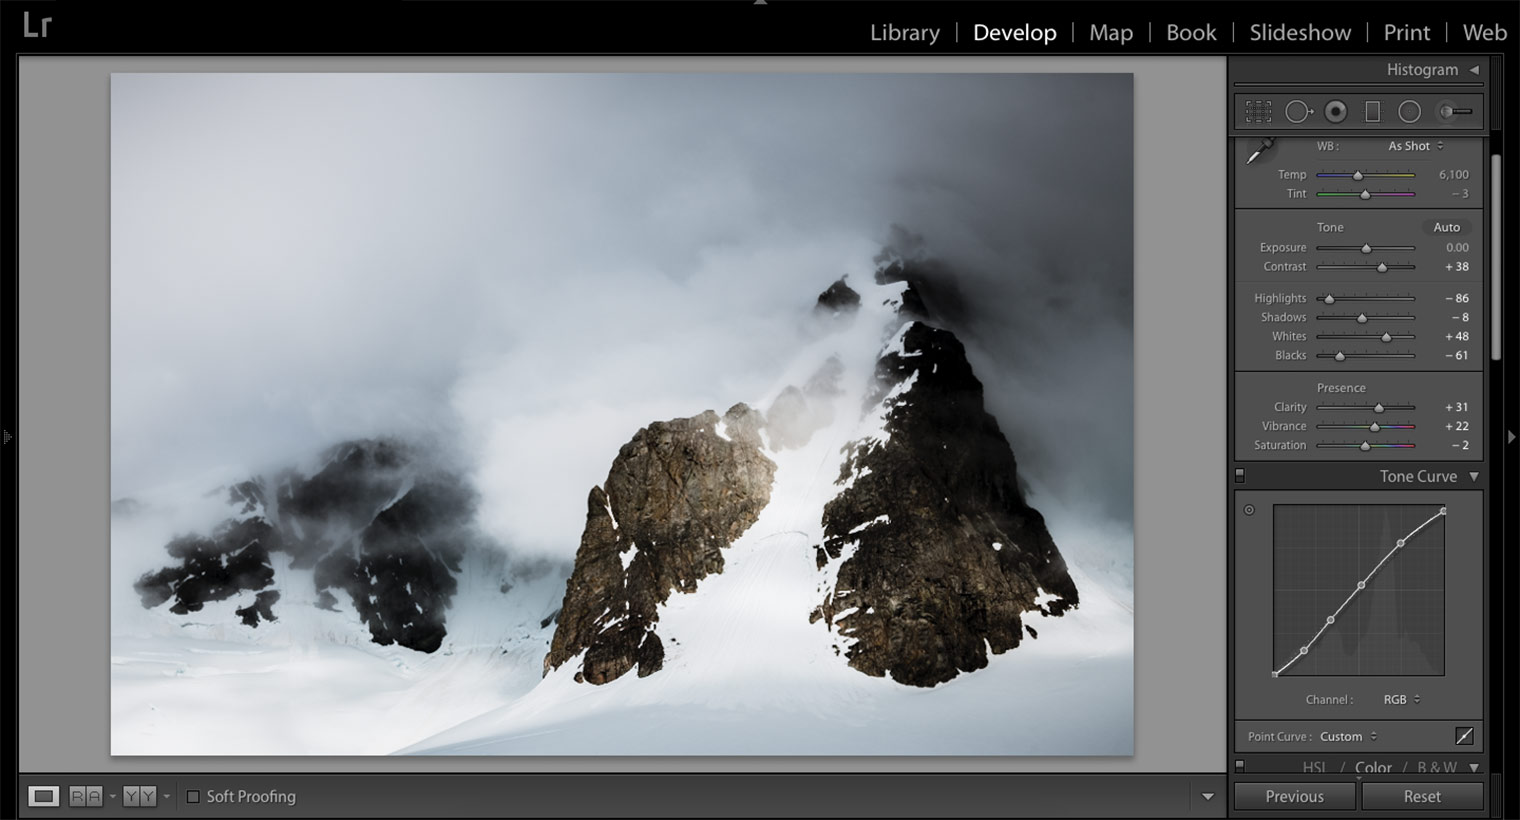
To achieve this, I use the Highlights and Whites sliders. I don't completely mute the whites in my shots. By decreasing Highlights and increasing Whites, I once again create a nice balance. This allows all the elements in my photos to work together in harmony.
Summary
These are the basics of how I photograph and edit moody landscape photos. This approach has helped me significantly. I hope my techniques inspire you to try something new and to take moody photos that you're truly proud of. If you're a Lightroom user, you should check out my Signature Lightroom Presets for moody landscape and travel photography.
More Articles on Photography & Lightroom
Most popular articles: How to Install Lightroom Presets | What is Split Toning and How to Use it in Lightroom? | Speed Up Adobe Lightroom and Lightroom Classic
Subscribe to my Newsletter ... and don't miss any new articles!
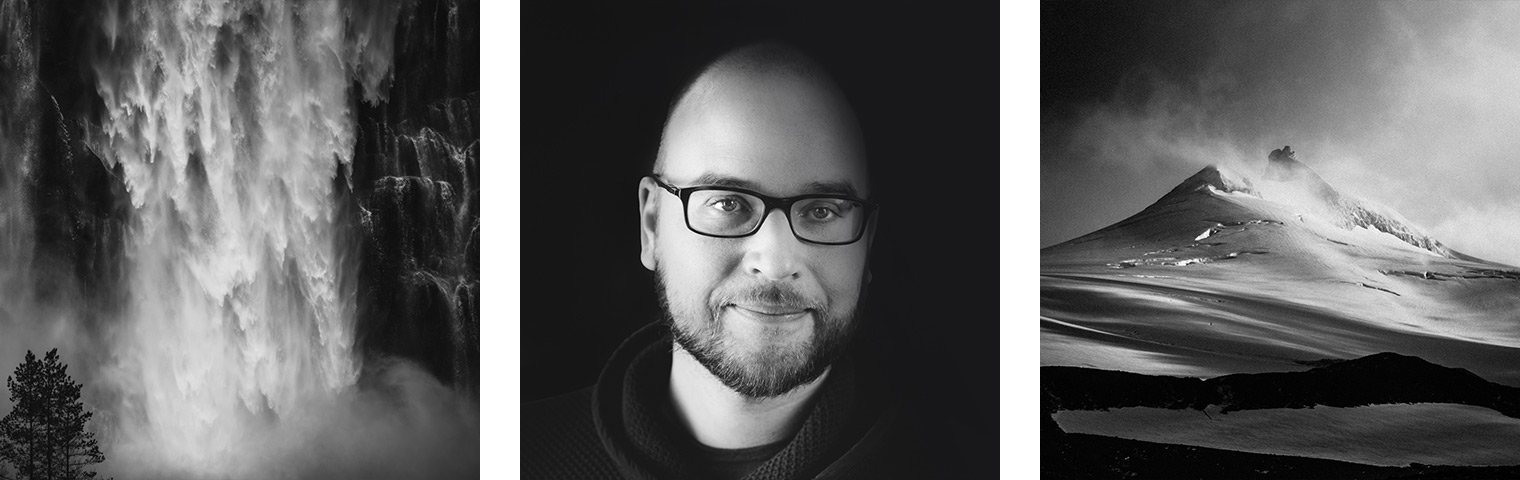
About the Author – Jan Erik Waider
I'm a visual artist and fine art photographer based in Hamburg. My work focuses on atmospheric and abstract landscape photography, capturing the essence of the remote polar regions. – Learn more about me and discover my fine art photo series, prints and books or download my Lightroom Presets or Capture One Styles.
Master Collection: 8 Lightroom Preset Packs for Landscape and Travel Photography

Discover the Master Collection by Northlandscapes with 8 professional preset packs for moody landscape, travel and aerial photography. Get a total of 362 Lightroom presets with a shop value of $282 for only $75! And the best part: All future product releases are also included!
Included in the Master Collection:
- Dark & Dramatic Lightroom Presets $35
- Landscape Essentials: 20 Lightroom Presets ($39)
- Forest Landscapes Lightroom Presets $35
- Aerial & Drone Lightroom Presets $35
- Signature Lightroom Presets $35
- Polar Landscapes Lightroom Presets $35
- Black & White Lightroom Presets $29
- Cinematic Lightroom Presets $15
- ... plus all future product releases!