
How to Properly Use the Tone Curve in Adobe Lightroom
The Tone Curve tool in Adobe Lightroom is an incredibly helpful feature. It can give you full control over your landscape photos and give your photography a boost. It might look intimidating, but it's fairly easy to use once you get the hang of it. Here's how you can use it effectively, in simple terms.
Tone Curve: RGB
The RGB curve is usually the first thing you see in Tone Curve. It controls the general tones in your photographs. This means that you can use it to adjust highlights, mid tones, shadows, and more. Many photographers use this very lightly. What they usually do is create an S-shaped curve that looks like this.
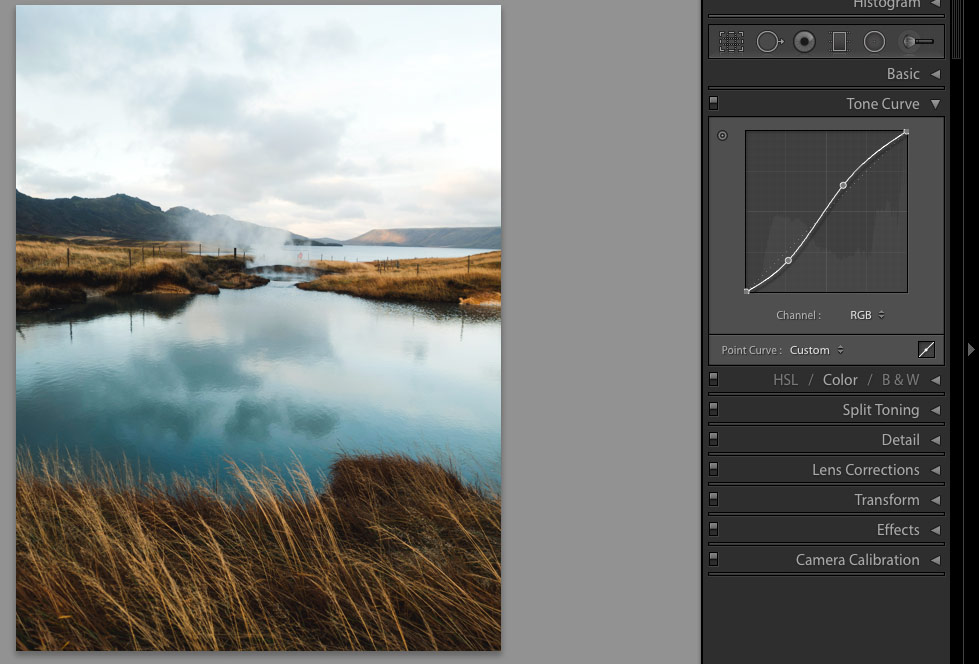
This shape generally works for all kinds of landscape photos. It boosts highlights and creates more shadows. You can think of it as a mini contrast booster. This technique works well. However, there's more to the tone curve than a simple contrast adjustment.
To make the most of the RGB curve, carefully experiment with other points on the curve. Careful adjustments can make a very big difference in your work.
The high points of the curve control the highlights, whereas the lower points control the shadows.
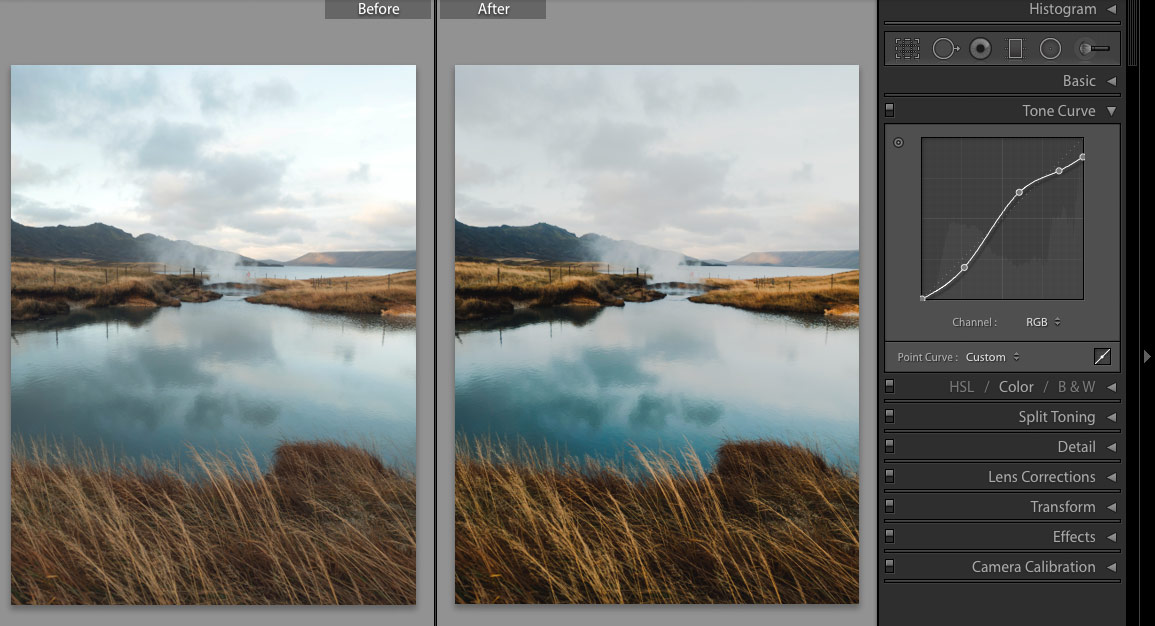
Let's say you want to create a gloomy look in the sky. What you need to do is mute the highlights to create a cloudy effect. You can do this by going to the very top of the curve and carefully dragging it down. You can also drag a lower point upwards to recover some details in the clouds.
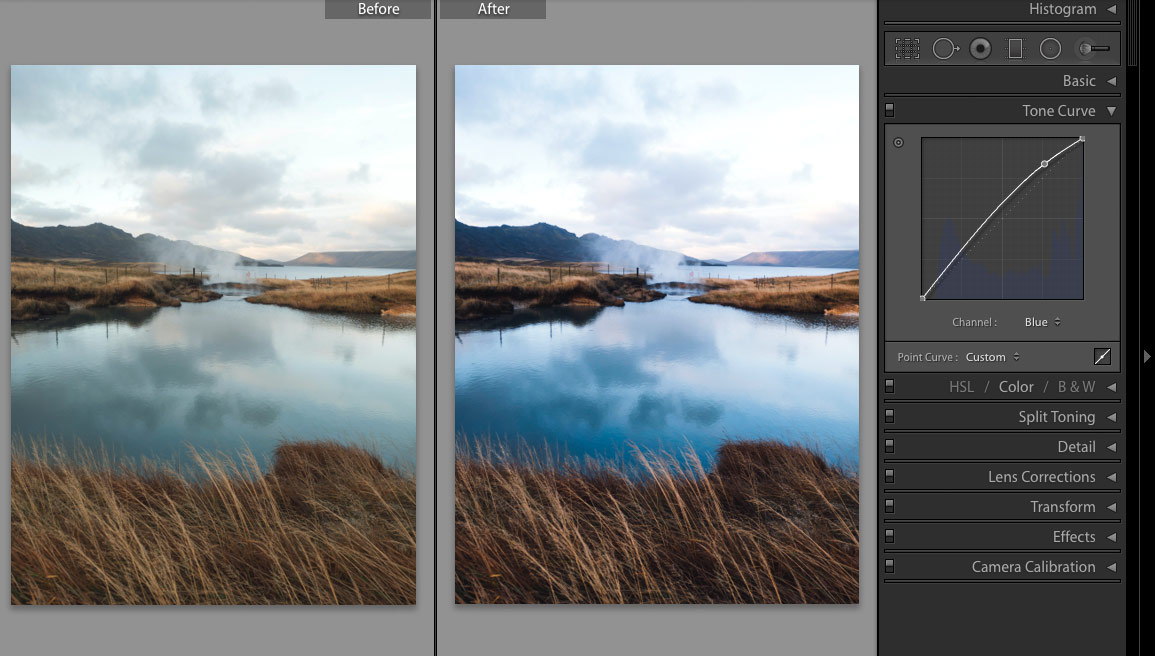
Tone Curve: Color Channels
Tone Curve comes with three color channels. They can give you even more control over the atmosphere in your pictures. A simple adjustment can brighten or dull down a specific color. This is very helpful in landscape photography, where all kinds of tones work together to create visually aesthetic art.
The channels are:
- Red & Cyan
- Green & Magenta
- Blue & Yellow

You can control two opposite colors in each channel. Always drag the slider down when you want to control the opposite color. I know this sounds complicated, but bear with me. It's simpler than you think!
Let's say you want to make the blues stand out more in the image below. Go to the Blue channel. Most of the blues are located in the highlights, so drag the *top* of the curve upwards.
If you want a simpler approach, you can adjust the point curve using a simple button. It's located on the top left of the Tone Curve section. (It's a circle with a smaller circle in the middle.) Click on it. Locate a part of your image that you'd like to change, click on it, and drag it up or down. This will automatically adjust the curve for you. Some landscape photographers find this technique much easier to master. I encourage you to try both methods.
Let's say you want to make the grass look more yellow. To achieve this, you can go to the Blue channel, whose opposite is yellow. Click on the grass, hold the right-click button, and drag it down. (Remember, drag the slider down when you want to control the opposite color.) Now the photo looks more vibrant and has more contrast. Keep working in different channels until you’re happy with the results.

The Tone Curve is a tool that you can use to enhance any landscape photo. It's meant to add depth to your pictures.
Even though the curve itself looks intimidating, it's easy to master within a short period of time. Make sure to experiment with different adjustments. Once you get the hang of it (and you will), you'll be on your way to creating lots of stunning masterpieces.
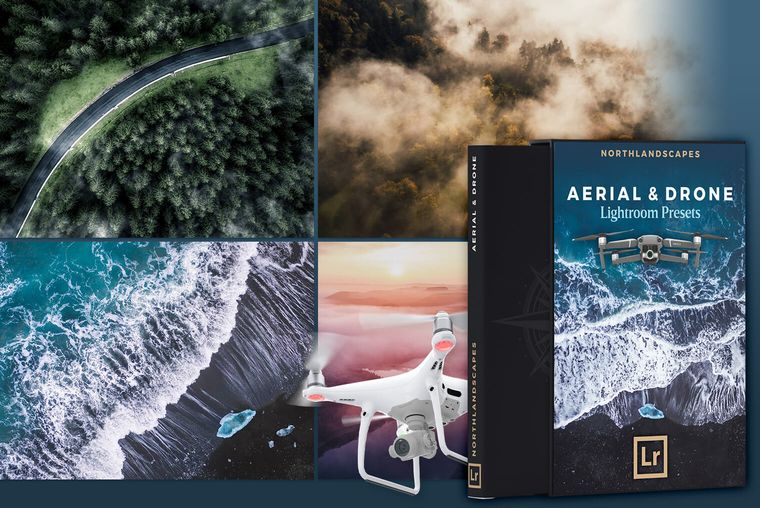
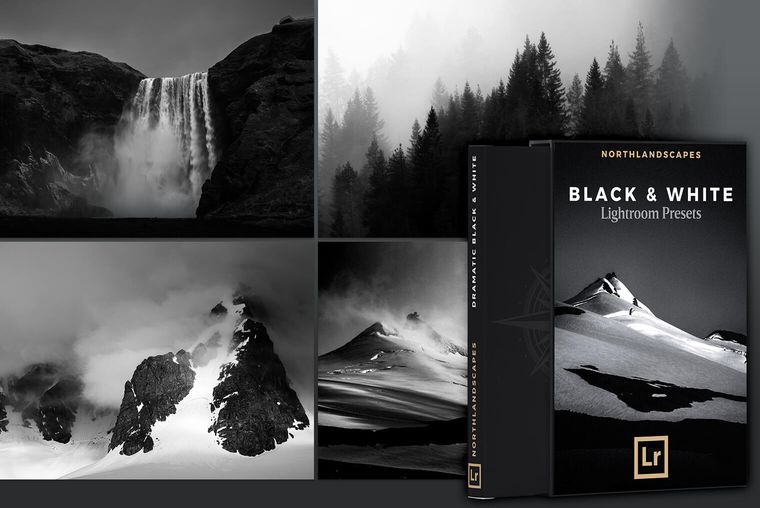
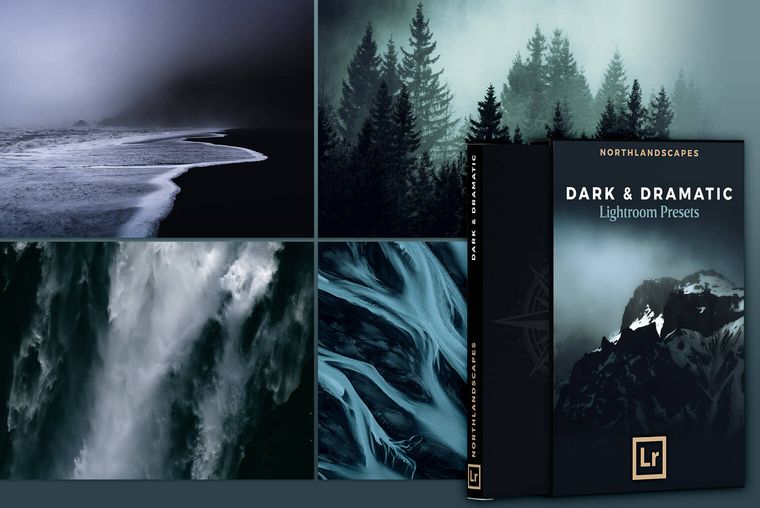
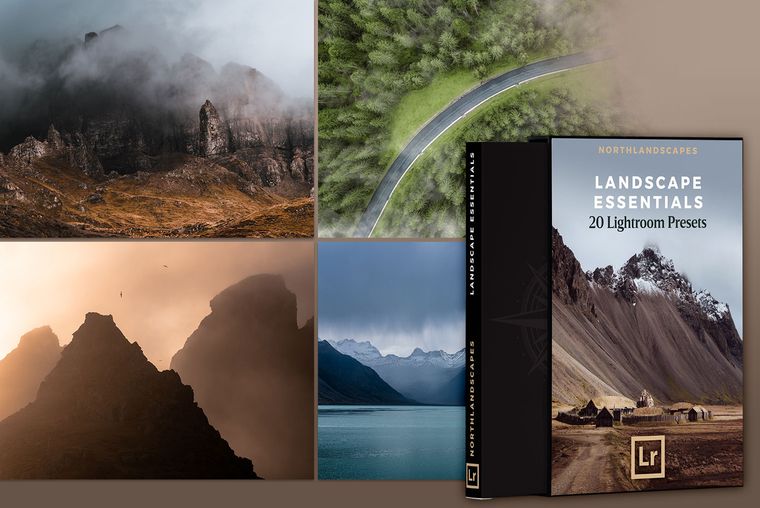
Discover Lightroom Presets by Northlandscapes:
More Articles on Photography & Lightroom
Most popular articles: How to Install Lightroom Presets | What is Split Toning and How to Use it in Lightroom? | Speed Up Adobe Lightroom and Lightroom Classic
Subscribe to my Newsletter ... and don't miss any new articles!
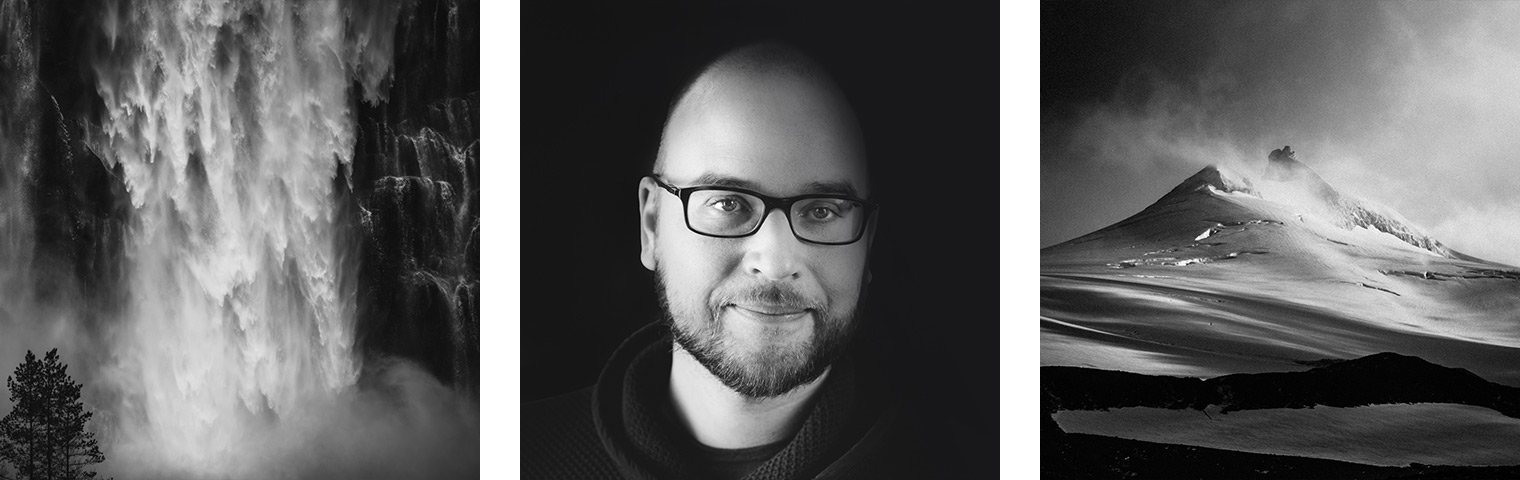
About the Author – Jan Erik Waider
I'm a visual artist and fine art photographer based in Hamburg. My work focuses on atmospheric and abstract landscape photography, capturing the essence of the remote polar regions. – Learn more about me and discover my fine art photo series, prints and books or download my Lightroom Presets or Capture One Styles.
Master Collection: 8 Lightroom Preset Packs for Landscape and Travel Photography

Discover the Master Collection by Northlandscapes with 8 professional preset packs for moody landscape, travel and aerial photography. Get a total of 362 Lightroom presets with a shop value of $282 for only $75! And the best part: All future product releases are also included!
Included in the Master Collection:
- Dark & Dramatic Lightroom Presets $35
- Landscape Essentials: 20 Lightroom Presets ($39)
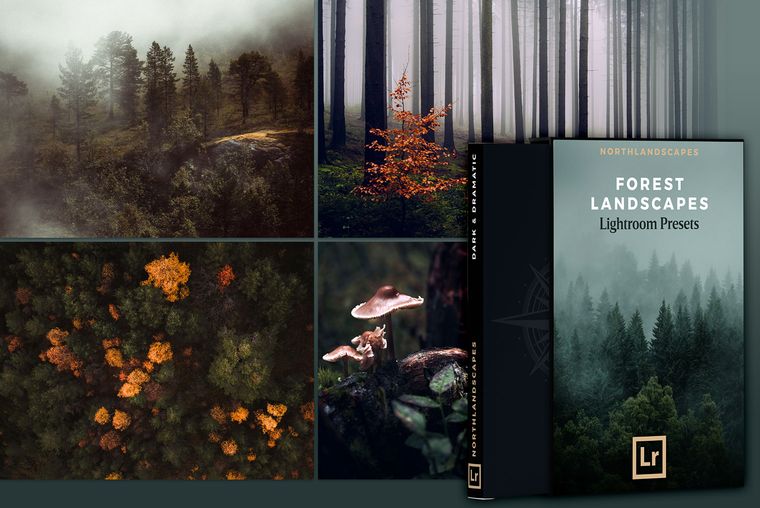
- Forest Landscapes Lightroom Presets $35
- Aerial & Drone Lightroom Presets $35
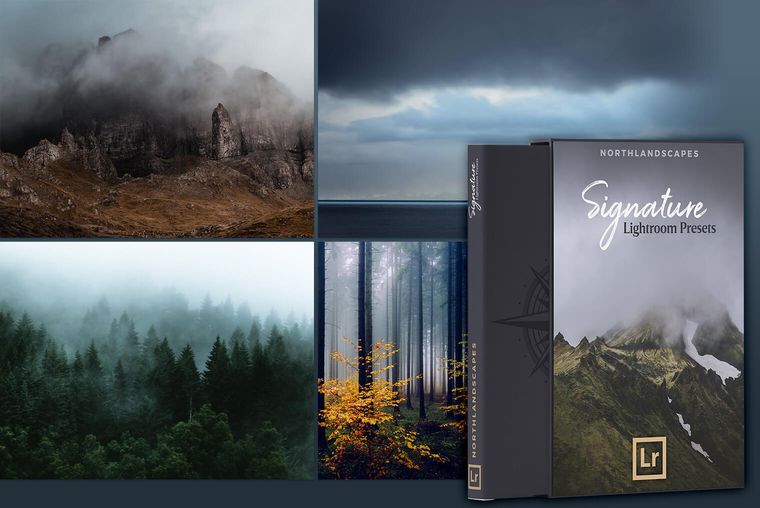
- Signature Lightroom Presets $35
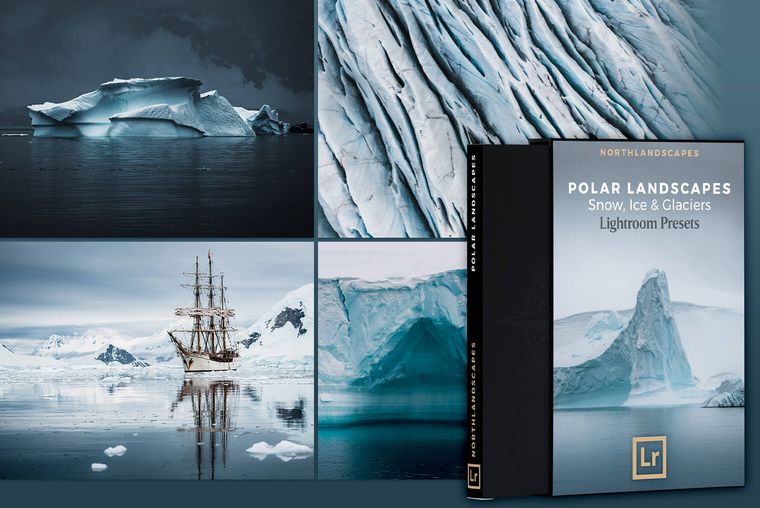
- Polar Landscapes Lightroom Presets $35
- Black & White Lightroom Presets $29
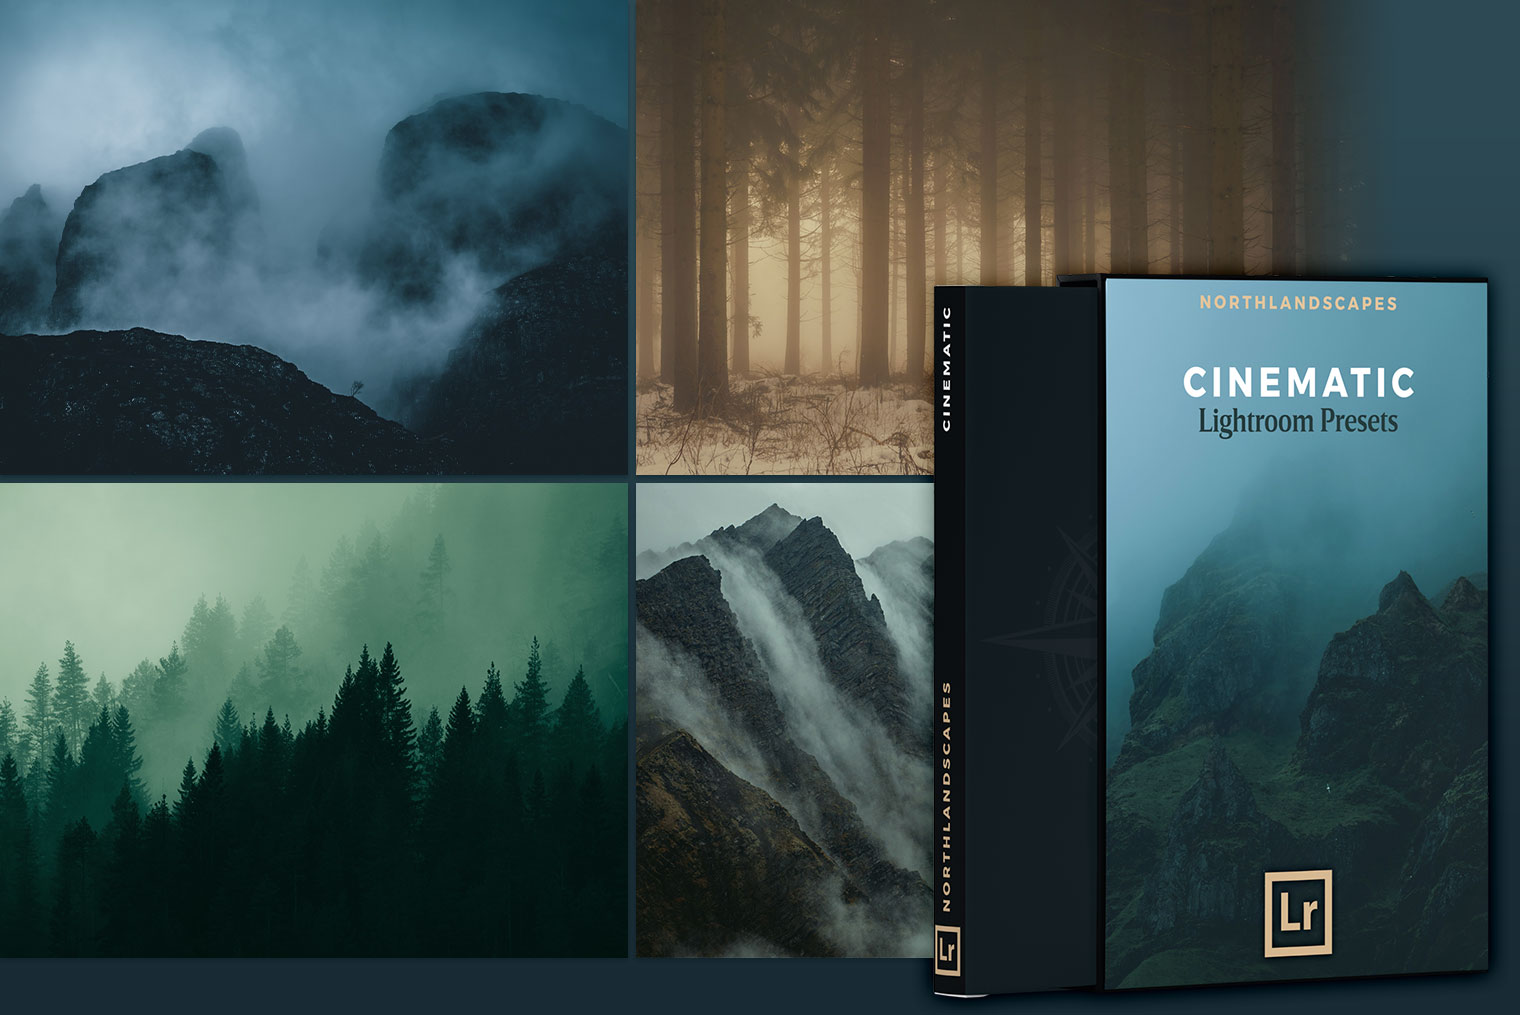
- Cinematic Lightroom Presets $15
- ... plus all future product releases!