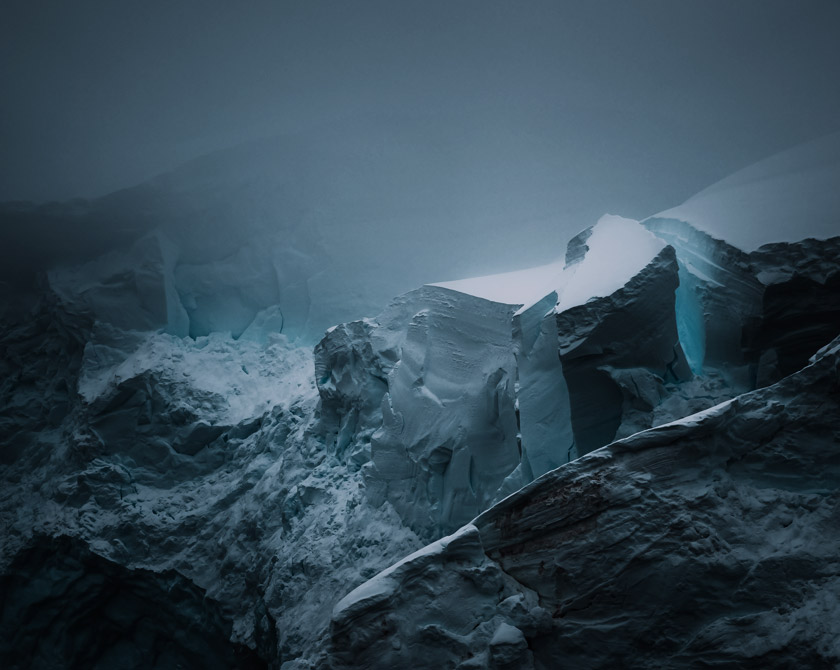
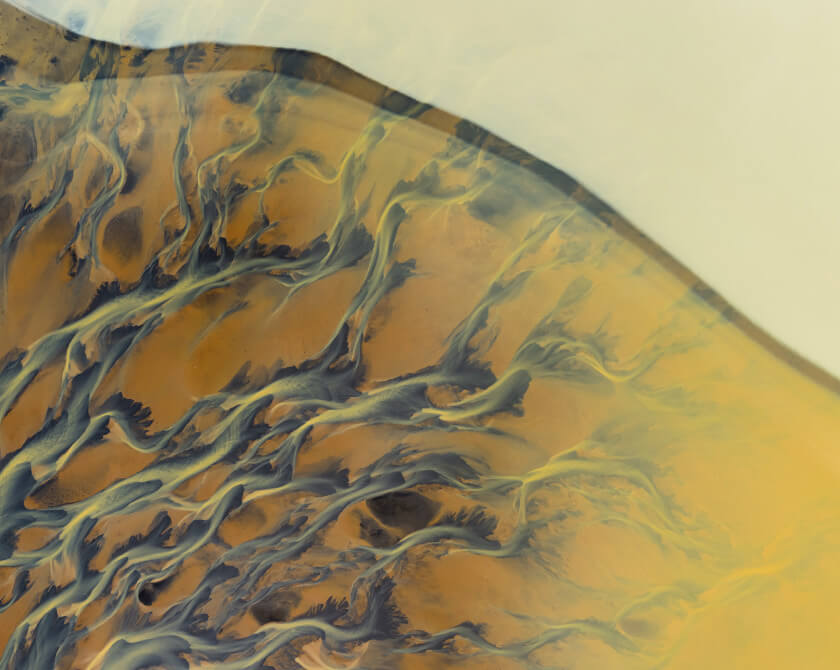
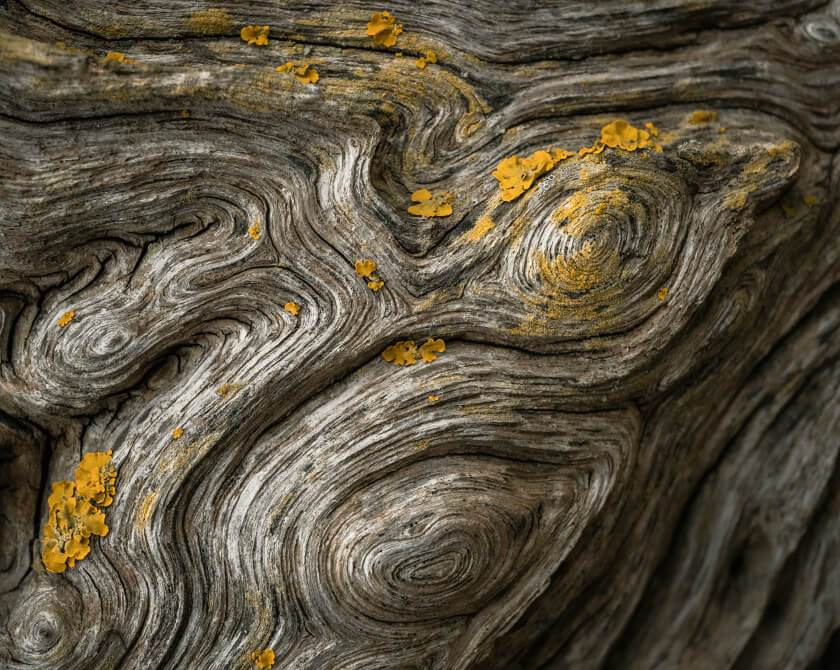
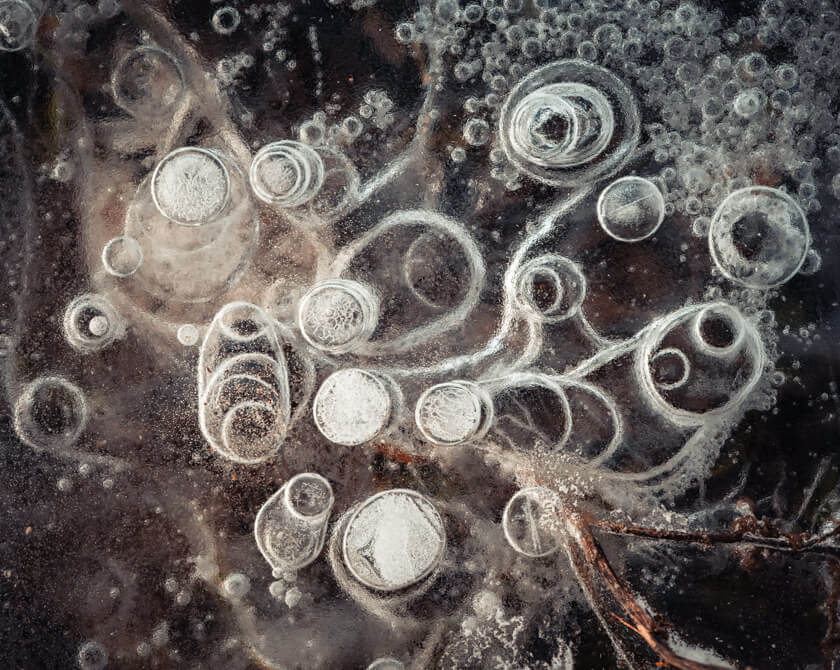
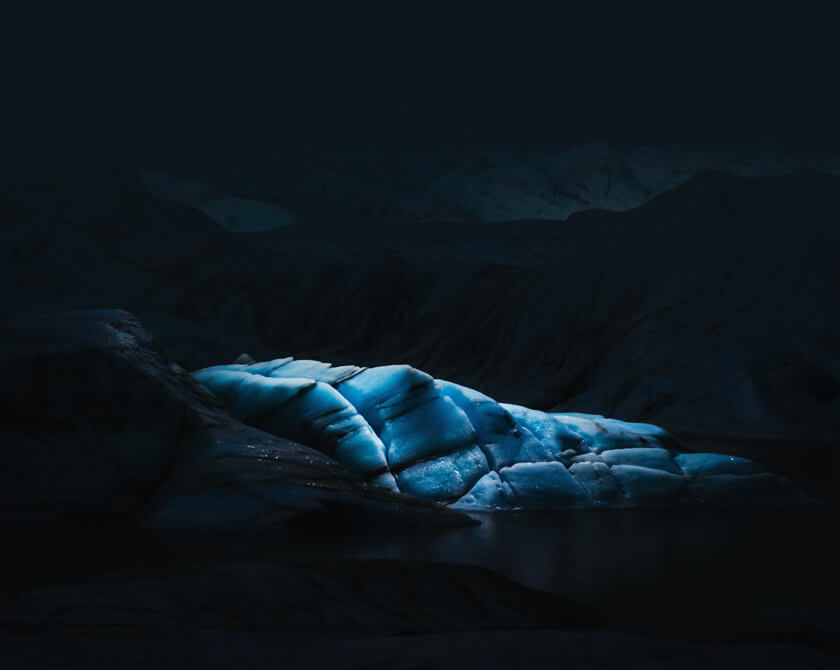
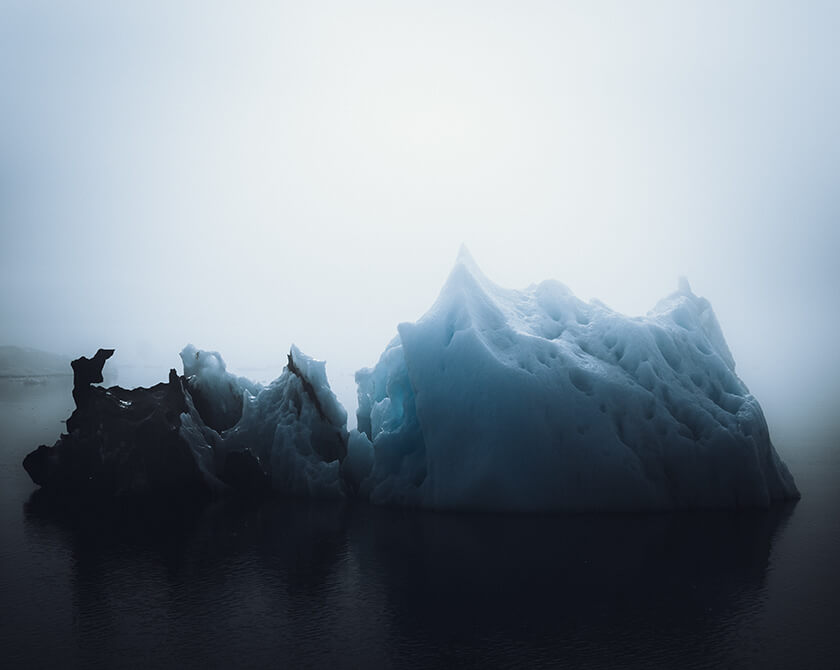
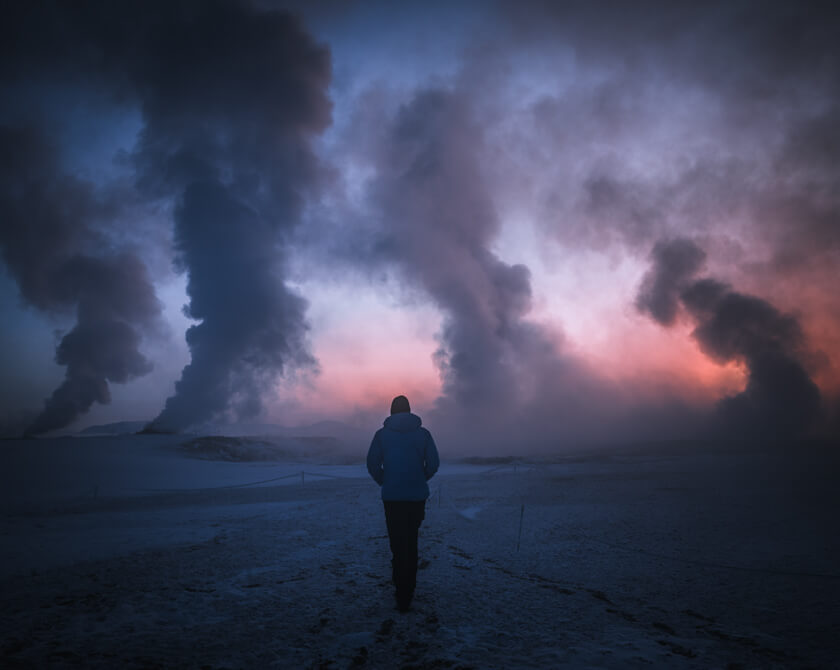
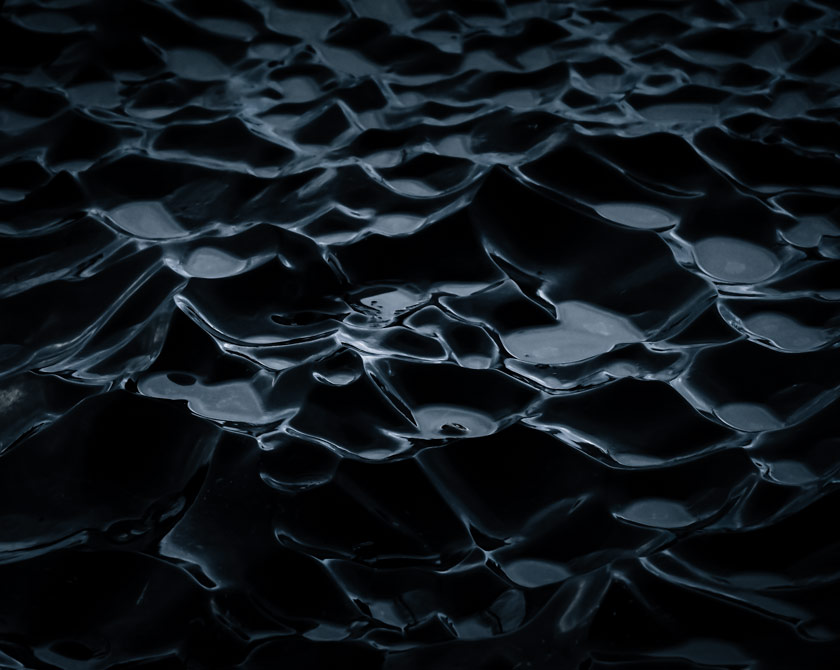
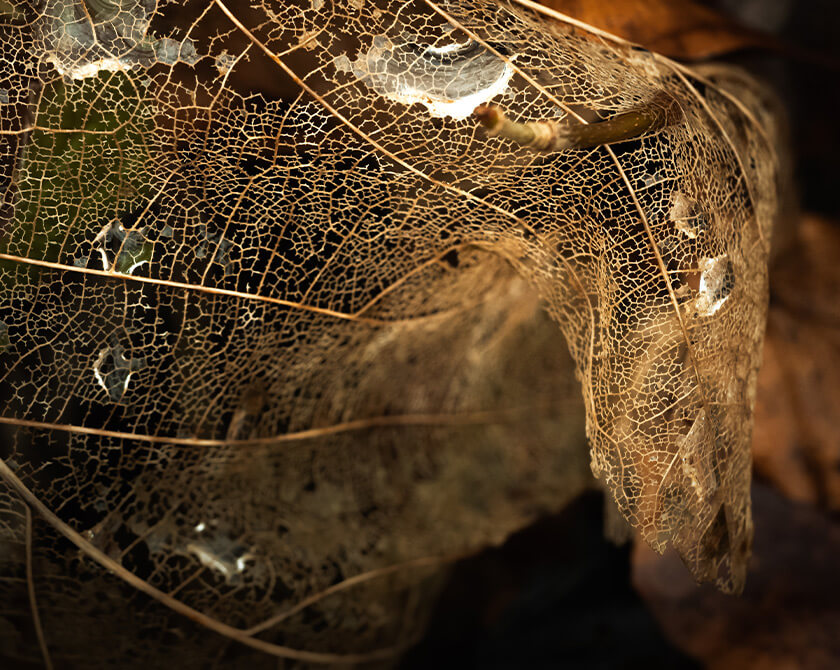
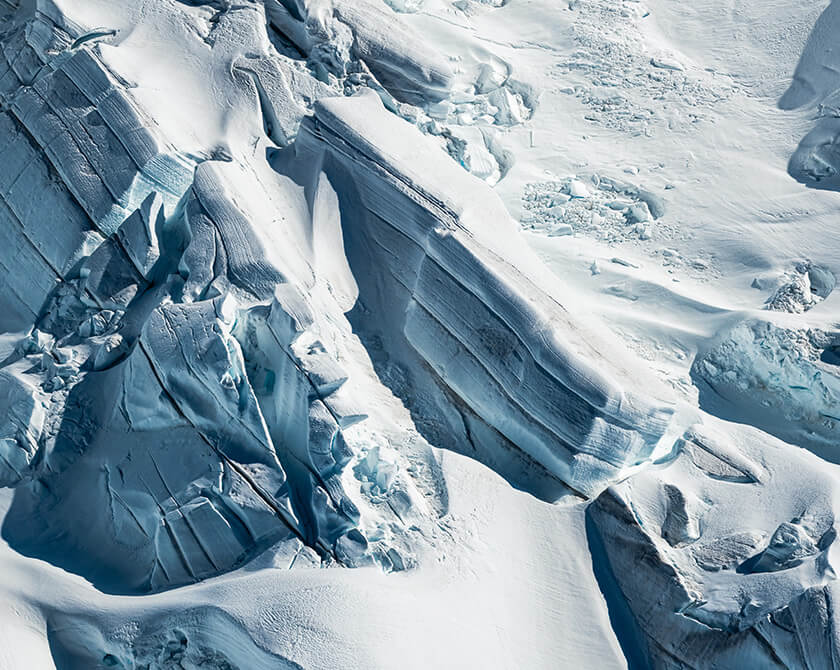
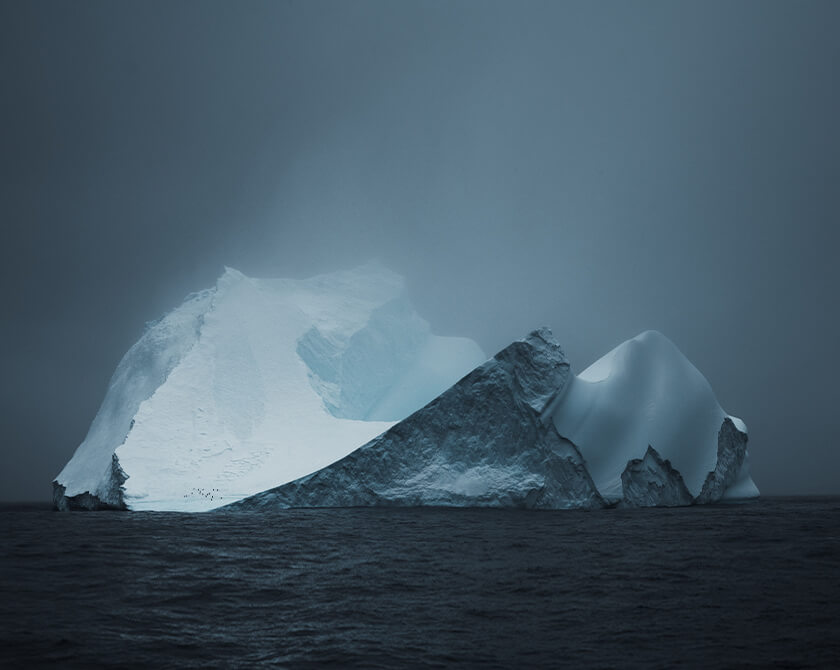
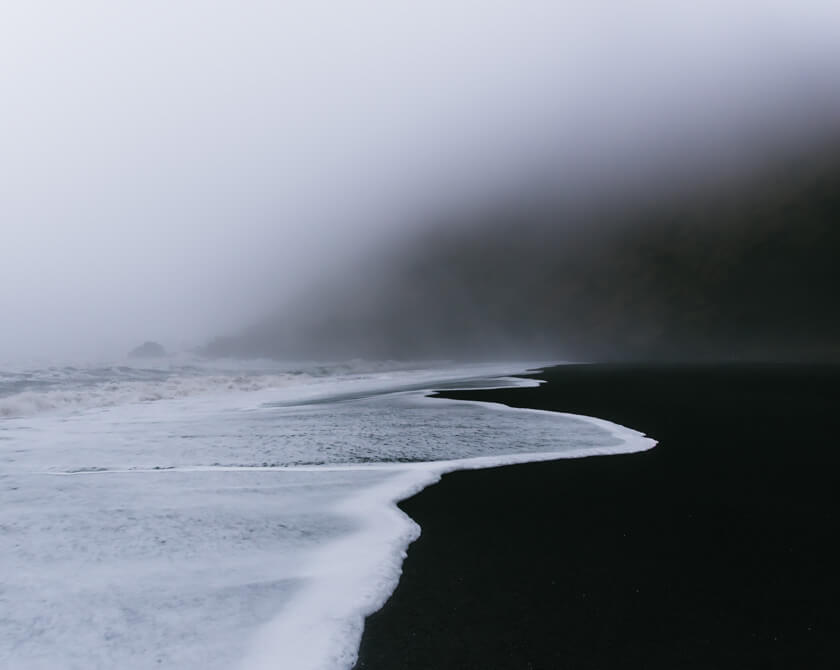
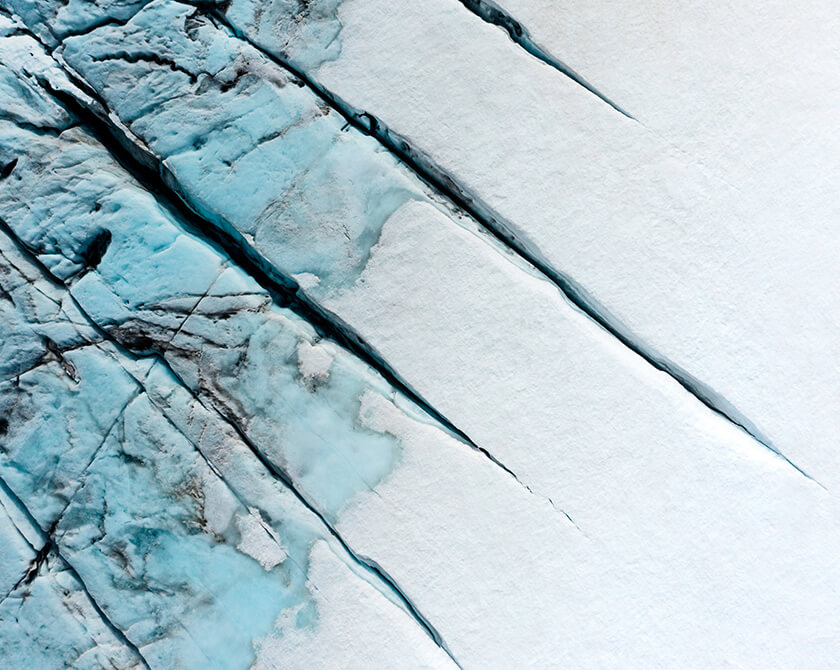
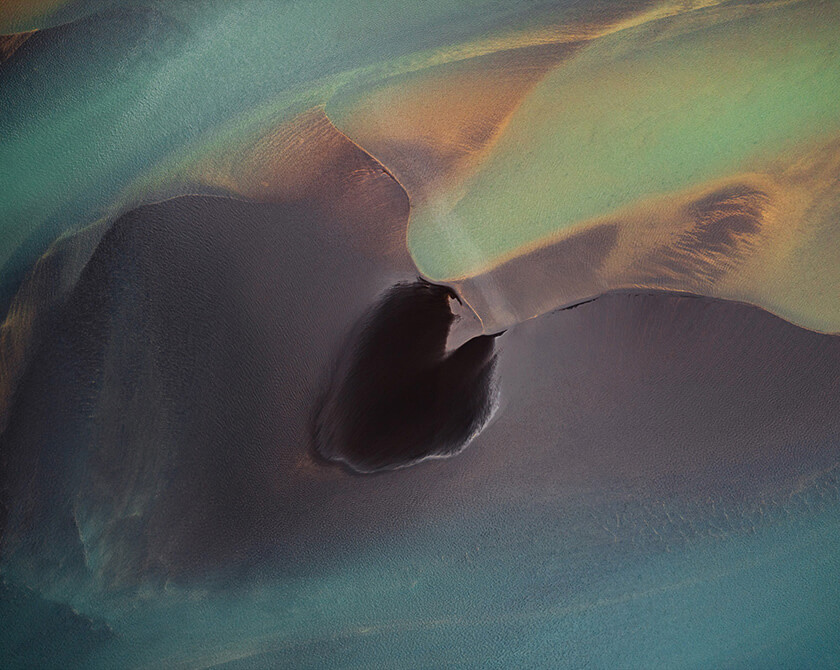
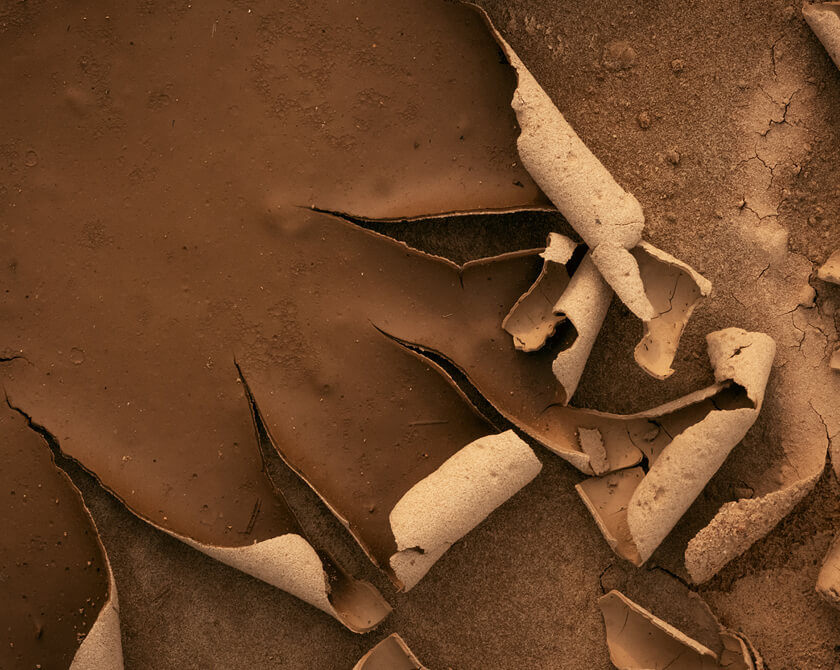
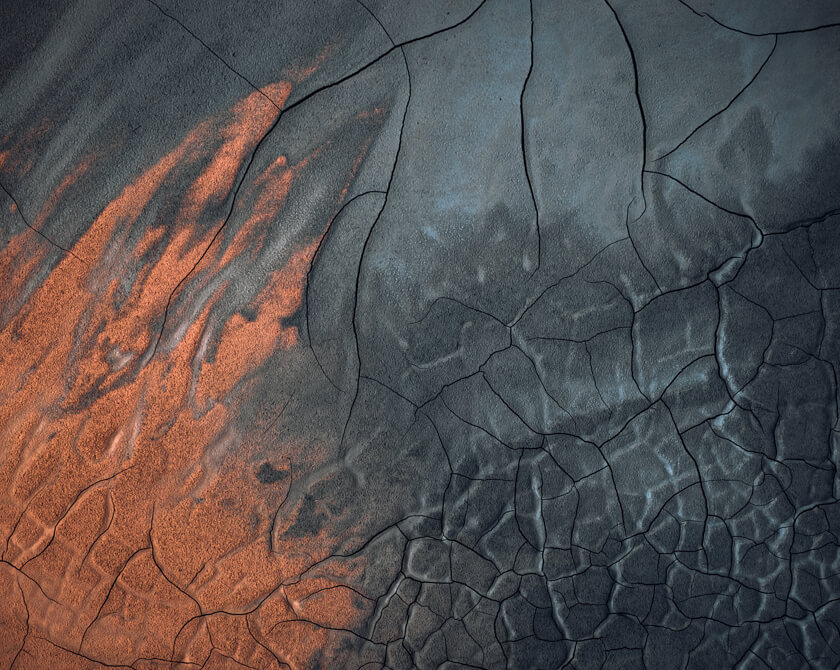
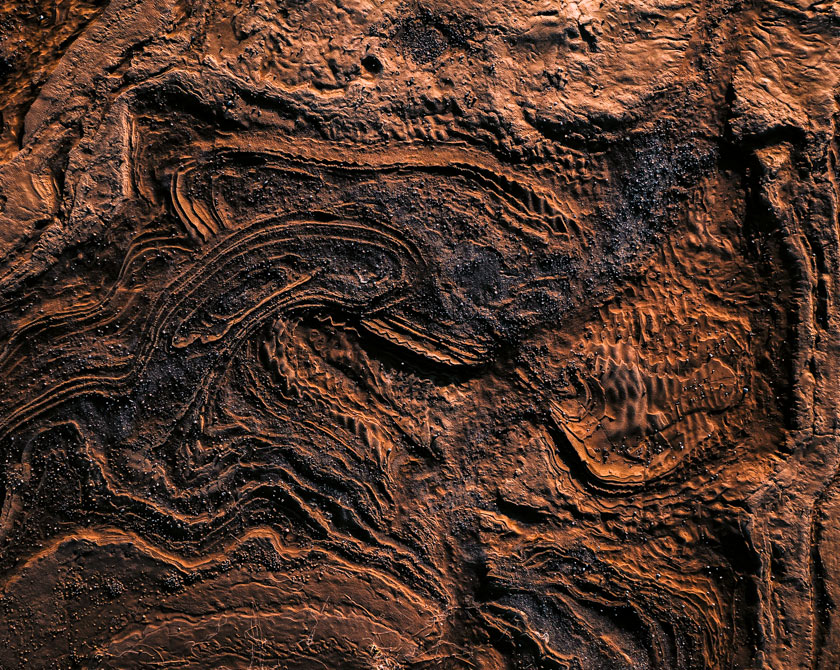
How to Photograph Forests Landscapes: Top Tips and Tricks

How to Photograph Forest Landscapes: 10 Tips and Tricks

Photographing forests and trees may sound easy, but it’s actually quite challenging. Imagine taking photos in an area covered by tall trees. It is definitely more difficult than normal nature photography.

There are a lot of things you need to consider if you want to create engaging, eye-catching, and interesting photos. But if you’re a passionate and dedicated photographer, you will love the challenge of taking photos of forests and trees. You know that it will all be worth it in the end because your audience will admire and love your images.

While there may be no perfect way of avoiding the challenges of forests and trees photography, there are tips and techniques that you can follow to make the whole process easier.

Lightroom Presets for Forest Landscapes - Example Photos

01 / Prepare the Right Gear

Whether shooting indoors in a studio or outdoors in the forest, a good photographer must know which gear to bring and use.

When taking photos of forests and trees, there are several essential items that should be packed in the camera bag. Aside from your camera, these are the things you should bring:

  • Lens – The forest is a vast area and, more often than not, there are rows upon rows of trees. As such, it is ideal to use wide angle lens. Likewise, the telephoto lens is a good backup as it can be used to get distant shots of your subject. Additionally, some photographers like taking close-up shots so they often bring along their macro lens.

    Bringing a variety of lens will allow a photographer to experiment with focal length. This is one of the best ways to determine the ideal forest and trees shots. Choosing shots wisely is essential in visual storytelling. To create a good, dramatic blur in the background, it is best to use a shallow depth of field (f2.8 or lower).

  • Tripod – Landscape and outdoor photography require a sturdy tripod. It is even more important when shooting forests and trees. The tripod is a big help when taking difficult shots, especially on uneven areas where the camera might shake.

  • Remote / Remote Trigger - It is also a good idea to bring a camera remote as there might be instances when hands-free photography will be required.

  • Polarizer – Photographers who want to capture the forest and trees’ vibrant colors will want to use a polarizer. This will also help minimize glare in the photos. As such, images will appear more natural.

These are the most essential photography gear but there are others that should also be packed in the camera bag. Extra batteries and external flash are just some of the examples.

Along with the right gear, photographers are likewise expected to dress comfortably. It is important to wear lightweight shirt and pants (and a jacket if possible) and a good pair of shoes.

Lightroom Presets for Forest Landscapes

02 / Explore the Forest

Find time to go to the forest and explore it. This will help in determining things such as possible weather condition, the lighting, and even the ideal spots or areas for the shoot. Questions like “Where will the light come from?”, “How tall are the trees and how thick are they?”, or “Where will the sun rise and where will it set?” will hopefully get their answers after the field trip to the forest. This should be done at least a day before the actual shoot.

03 / Choose the Best Time to Shoot

“Shoot during the golden hour” is the usual advice photographers give to beginners and amateurs. When capturing forests and trees though, there are certain times that are more ideal than others.

The best times are

  • early in the morning,
  • late in the afternoon - at least two hours before the sun sets,
  • when it is sunny and foggy,
  • and when there are little-to-no clouds.

There are some photographers though who prefer to shoot after the sun has set, especially those who want to achieve a dramatic or magical effect. (→ see my series Into That Good Night)

Those who shoot in the morning do so because they want a misty effect on their photos. (→ see my series Fleeting Moments of Autumn)

Moody Forest Landscapes

04 / Adjust the Camera Settings Accordingly

Since you’ve already explored and checked out the forest days before the shoot, you should have an idea of your camera settings. However, as the conditions are always unpredictable, things can change.

As such, there is no fixed setting for forest and trees photography.

So, camera settings should be adjusted according to the conditions on the day of the shoot. There are, however, settings that are commonly used for taking forest and tree photos, particularly when shooting at night. Mid-level ISOs and long exposures work best for such a scenario.

05 / Use the Forests and Trees to Create Good Composition

One of the best ways to do this is to create paths and lines. Find elements in the forest that can help. Some good examples are tree trunks, mountains, branches, and small pathways. The lines and paths should lead viewers to the main subject. For example, a photo of a tree trunk taken from ground will lead the eyes to the vast blue sky. And a photo showing the edges of two mountains will bring to focus a dramatic image of the sun peeking from behind the mountains.

(→ see my series Pursuit of Symmetry)

Lightroom Presets for Atmospheric Forest Photography

06 / Pay Attention to Details

There are countless things you can do in the forest. Take advantage of this. A perfect example would be the grounds of the forest covered with leaves that have changed color. For a more creative effect, the focus can be on just one leaf. This can be shot with a macro lens or by blurring the background so that the leaf can be highlighted. Another way of doing this is by using backlighting to center the focus on the leaf. (→ see my series The Colors of Autumn)

Another example: Forests can have a lot of clutter, especially in autumn, when leaves fall all over the place. Use these details to add more depth and color to the story you are creating.

Lightroom Presets for Moody Forest Landscapes

07 / Shoot Silhouettes

Silhouettes give off different effects – dramatic, melancholic, mysterious, among others. This is especially true for those shooting at dusk or before dawn. This is the best time to take that silhouette shot that shows big, sturdy, and leafy trees standing tall against the dark, quiet sky.

Taking photos of trees (and the forest as a whole) against the night sky is also the best way to capture stars and moon in all their glory.

08 / Consider Aerial Photography

For photographers who want to capture the forest in its entirety, the ideal thing to do is use a drone to take aerial shots. Choose to shoot on a day when the skies are clear. Dramatic, moody shots can likewise be taken when the weather is a bit misty.

→ See also: Lightroom Presets for Aerial Landscape Photography

Moody Autumn Forest Lightroom Presets

09 / Take Photos from the Ground or a Low Angle

Lie down on the ground or find any low angle, and take photos of the trees from there. This will help emphasize the size of the trees. Images like this can elicit different reactions from the audience. They can even be conversation starters.

10 / Don’t Forget About Post Processing and Presets

Do not hesitate to post process your forest and trees photos. This is already an essential aspect of photography. It gives photographers a chance to review their work and, in the process, enhance what needs to be enhanced (such as contrast and sharpness).

There are apps and software that can help you with this. Adobe Lightroom is one and I even developed a special set of Lightroom presets for moody and atmospheric forest landscapes. This product is designed as a structured workflow and consist of seven modules. This gives you the freedom to individually shape the final image with a selection of adjustment presets and develop a repeatable personal style in the process.

Professional Lightroom Presets by Northlandscapes:

Download Lightroom Presets by Northlandscapes (FREE and Premium)

Conclusion

Taking photos of forests and trees is not easy, but with the right gear - and by following the above-mentioned tips and techniques, you can create stunning images. You can also find more inspiration in my landscape and fine art portfolio or on Instagram.


More Articles on Photography & Lightroom

Most popular articles: How to Install Lightroom Presets | What is Split Toning and How to Use it in Lightroom? | Speed Up Adobe Lightroom and Lightroom Classic

Subscribe to my Newsletter ... and don't miss any new articles!


Northlandscapes – Jan Erik Waider | Atmospheric landscape photography of the North: Norway, Iceland, Greenland and beyond

About the Author – Jan Erik Waider

I'm a visual artist and fine art photographer based in Hamburg. My work focuses on atmospheric and abstract landscape photography, capturing the essence of the remote polar regions. – Learn more about me and discover my fine art photo series, prints and books or download my Lightroom Presets or Capture One Styles.

Contact | Photography Coaching | Newsletter


Master Collection: 8 Lightroom Preset Packs for Landscape and Travel Photography

Master Collection: 8 Lightroom Preset Packs for Landscape & Travel Photography

Discover the Master Collection by Northlandscapes with 8 professional preset packs for moody landscape, travel and aerial photography. Get a total of 362 Lightroom presets with a shop value of $282 for only $69! And the best part: All future product releases are also included!

Discover the Master Collection

The Essential Collection: 20 Lightroom Presets for Landscape Photography
Lightroom Presets for Forest Landscapes
Dark & Dramatic Lightroom Presets
Black & White Lightroom Presets
Cinematic Lightroom Presets
Moody Landscapes (Signature Lightroom Presets)
Polar Landscapes Lightroom Presets
Aerial & Drone Lightroom Presets

Included in the Master Collection:

Whether you’re just getting started or you’re a professional photographer, this is the ideal preset collection to speed up your editing workflow.

Get the Master Collection for only $69